Basic Rules and Best Apps for Making Transparent Watermark PNG
Guidelines in Creating Transparent Watermark PNG over Photos
We will all agree that “protection” is the appropriate word to describe watermarks. These can appear as logos, signatures, and even as brand names. When adding one, you don’t just put it anywhere in your photo. It is also a must that you follow the basic guidelines when making it. Check them out below:
Simple and Straightforward
Whatever your subject or forte is, a watermark shouldn’t steal the spotlight from your masterpiece. Make your watermark as minimalist as possible, and avoid too many decorative elements. It should also complement your image well.

Consistent Placement
Whether you place the watermark in the middle, top-left corner, or bottom-right corner, the watermark should be in the same place every time.

Avoid Ruining Your Photo’s Quality
Watermarks over your main subjects don’t just look unprofessional, but they also ruin the quality of your image. Therefore, you should put it in the cleanest space of your photo as much as possible, but ensure that the area cannot be cropped easily.

Proportional Size
Play around with the size of the watermark before permanently putting it on your photo to find the perfect fit to the dimensions of the pictures you’re going to post.

Set the Right Opacity Level
When putting a watermark, you should make it translucent yet recognizable. In other words, you must learn how to control the image’s opacity and make a perfect transparent watermark PNG.

How to Make Transparent Watermark with Online Tools
After learning the proper way of adding a transparent watermark on your photo, we’ll introduce to you the top 3 transparent watermark makers along with their step-by-step guide to using them.
PicWish 100% FREE
The top-tier transparent watermark maker you can trust is PicWish. Using this easy-to-use, AI-powered online tool, you can instantly remove the background of any image, including graphics, logos, and even scanned signatures that can be added to your photos as watermarks. It provides a precise and clean cut without requiring complex tools. Best of all, this transparent watermark maker service is absolutely free and gives high-quality output.
Here’s how the three steps to make transparent watermark PNG:
- Go to PicWish official website and click the Upload Image button to import the photo.
![transparent watermark picwish Import]()
- Wait for the transparent result.
- Hit Download to save your transparent watermark.
![transparent watermark picwish output]()
Tips:
For more convenience, you can download the PicWish software tool on your Mac or Windows and add watermark images in bulk up to 100 images at once.
RemoveBG
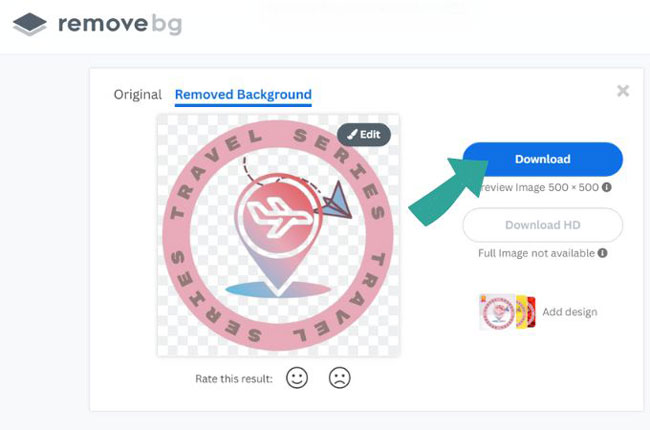
RemoveBG is another straightforward background removal tool you can use to make a transparent watermark. It provides several options for uploading files, such as drag-and-drop, screenshot and paste, or copy-paste the link. It works quickly and automatically to save you time. Additionally, it gives you the option to either save it as PNG or a new background to it and export it as JPG.
Check these steps to start making a transparent watermark:
- Visit Removebg’s homepage.
![transparent watermark removebg upload]()
- From its interface, upload the watermark you want to make transparent.
- Wait shortly and save it once satisfied with the result.
![transparent watermark removebg result]()
PhotoRoom
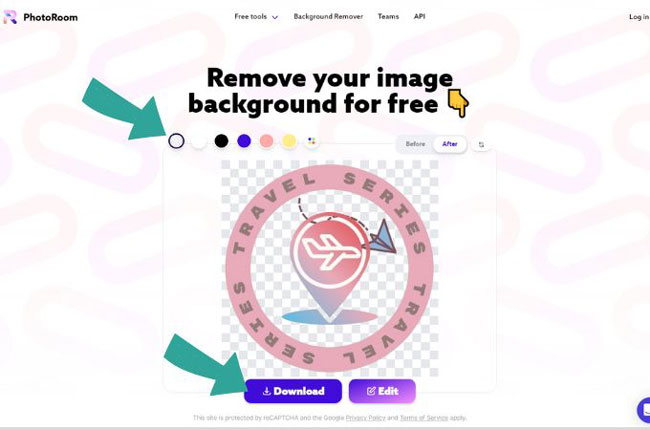
For a hassle-free and fast transparent watermark maker, you can always count on PhotoRoom. This online app supports all types of image formats and removes backgrounds in one click without compromising image quality. This editor allows you to save your output as PNG and JPG.
Follow the steps below on how to use this tool as transparent watermark maker:
- From its interface, hit the purple button with +Start from Photo button to upload an image.
![transparent watermark photoroom start]()
- Next, wait for the image to load completely.
- Then, select the transparent icon on the top left corner of the image to make the background transparent.
- Download the file to save it.
![transparent watermark photoroom export]()
Conclusion
After reading the article, you can now use any of these tools to create a transparent watermark to your picture without making it obvious.


Leave a Comment