

How to Print a 2×2 Photo at Home
- Capture a High-Quality Photo
- Resize the Photo to 2×2 Inches
- Arrange Multiple Copies for Printing
- How to Print a 2×2 Photo at Home
- Cut the Printed Photo Accurately
Step 1: Capture a High-Quality Photo
The first step on how to print a 2×2 photo at home is to capture a high-resolution image. Whether you’re using a smartphone or a digital camera, ensure that the photo meets the required quality standards.
Use a Smartphone or Digital Camera
Most modern smartphones have high-quality cameras that can capture sharp images suitable for printing. If you have a digital camera, set it to the highest resolution for better clarity and detail. Additionally, avoid using filters or portrait mode.
Ensure Proper Lighting and Background
For the best results, take the photo in a well-lit area with natural or soft artificial lighting. Furthermore, avoid harsh shadows by facing a window or using diffused lighting. Also, the background should be plain white or off-white. Meanwhile, a smooth, light-colored wall works well, or you can use a white sheet as a backdrop.
Follow Standard Passport Photo Guidelines
To ensure your 2×2 photo meets official requirements, follow these guidelines:
- Neutral Expression: Keep a straight face with a natural, relaxed expression.
- Direct Eye Contact: Look straight into the camera with your eyes open.
- No Harsh Shadows: Make sure the lighting is even across your face.
- No Accessories: Avoid wearing glasses, hats, or anything that may obstruct your face.
Step 2: Resize the Photo to 2×2 Inches
Once you’ve captured a high-quality photo, the next step is to resize it to the correct dimensions. A 2×2 photo must meet specific size and resolution requirements, especially for official documents like passports and IDs. Luckily, you only need one tool to do it. Introducing PicWish, it has a Free Passport Photo Maker that has a preset size of 2×2. Here, you can instantly resize your portrait into 2×2. Plus, it can also change the background to white in case you don’t have a neutral backdrop with you.
- Visit the Free Passport Photo Maker of PicWish and choose 2×2 for the size. Upload the image afterward.

- Next, hit Edit more if you want to make some modifications to the picture.
- From here, you can reposition the subject, change the background color, turn on the Light feature, and enhance the photo.
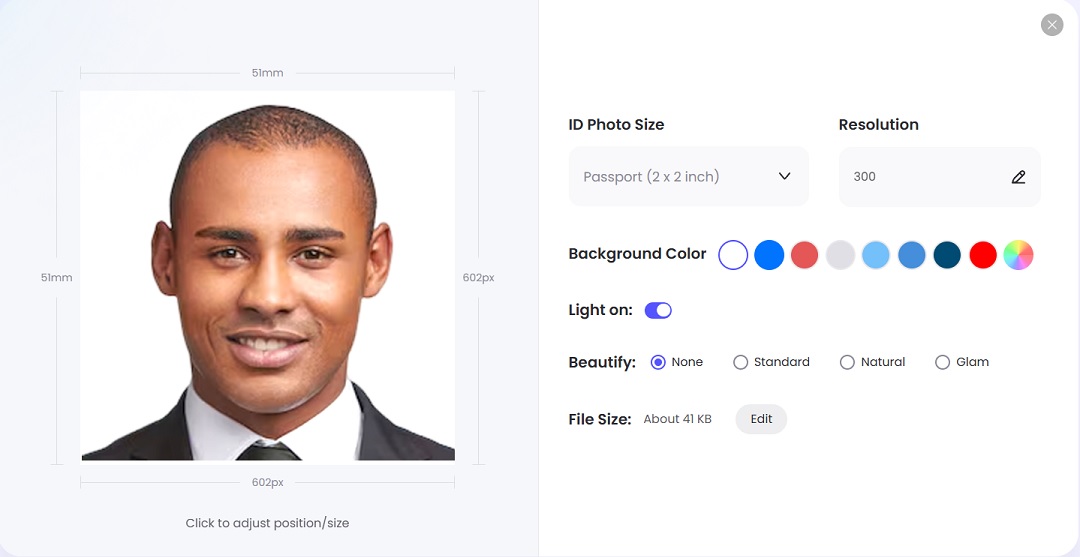
- Once done, hit Generate and download a Printable version of the 2×2 picture.
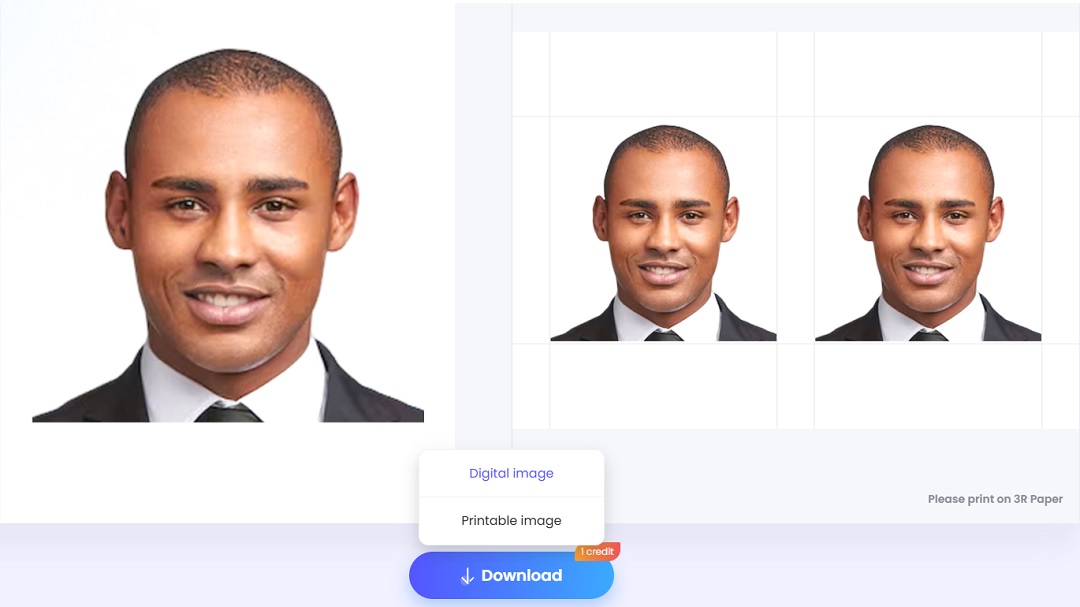
Step 3: Arrange Multiple Copies for Printing
To make the most of your printing paper and ensure you have extra copies, it’s best to arrange multiple 2×2 photos on a single canvas. This step helps save paper and ink while ensuring you have backups in case of mistakes.

Choose the Right Canvas Size
- Depending on your printer and paper size, you can arrange multiple photos on:
- A4 paper (8.27 x 11.69 inches): Fits multiple 2×2 photos for bulk printing.
- 4×6 photo paper: Convenient for printing at home or at a local store.
Step 4: How to Print a 2×2 Photo at Home
Now that you have arranged and saved your 2×2 photo, it’s time to print it. To achieve professional-quality results, you’ll need the right printer, paper, and settings.
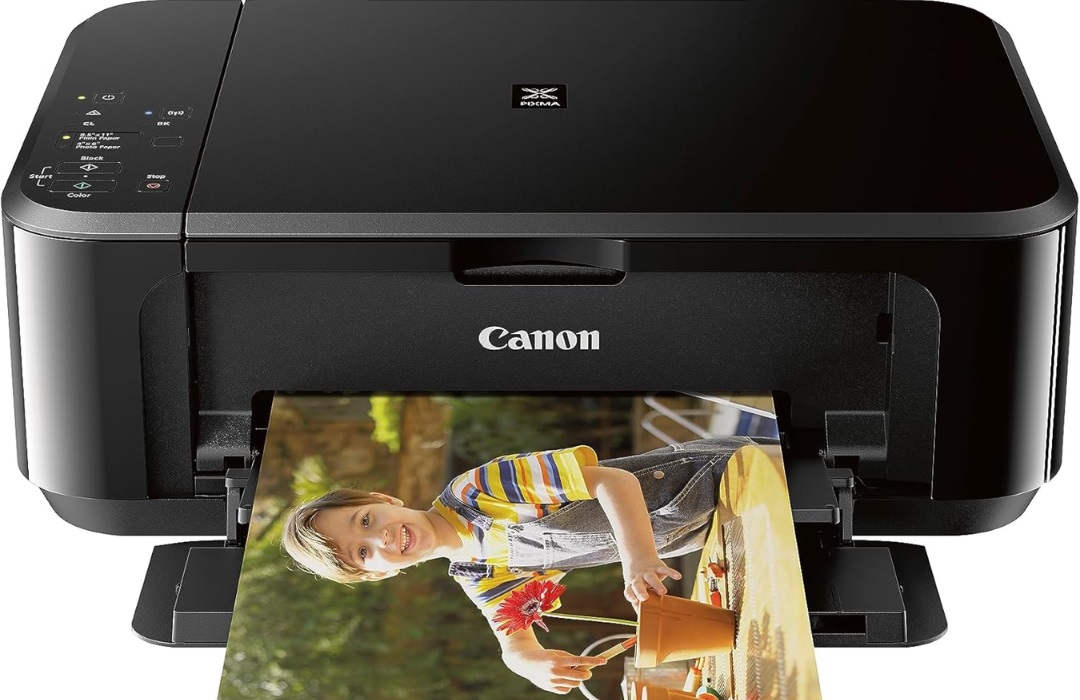
Use a High-Quality Photo Printer
For the best results, use an inkjet or laser printer designed for photo printing. A printer with high DPI (dots per inch) capabilities, such as 600 DPI or higher, will produce sharper and more detailed images. If you don’t have a photo printer, consider using a local print shop or an online printing service.
Choose the Right Paper
Selecting the correct paper type is essential for a professional finish. Your options include:
- Glossy photo paper: Provides vibrant colors and a shiny finish, ideal for official documents.
- Matte photo paper: Reduces glare and fingerprints, offering a more subtle look.
Adjust Printer Settings for Accuracy
To ensure your photo prints correctly at 2×2 inches, follow these steps:
- Open the photo file using your preferred printing software.
- Select the actual size or “100% scale” option to prevent automatic resizing.
- Set the print quality to high or best for the sharpest results.
- Choose the correct paper type in your printer settings to match your glossy or matte paper.
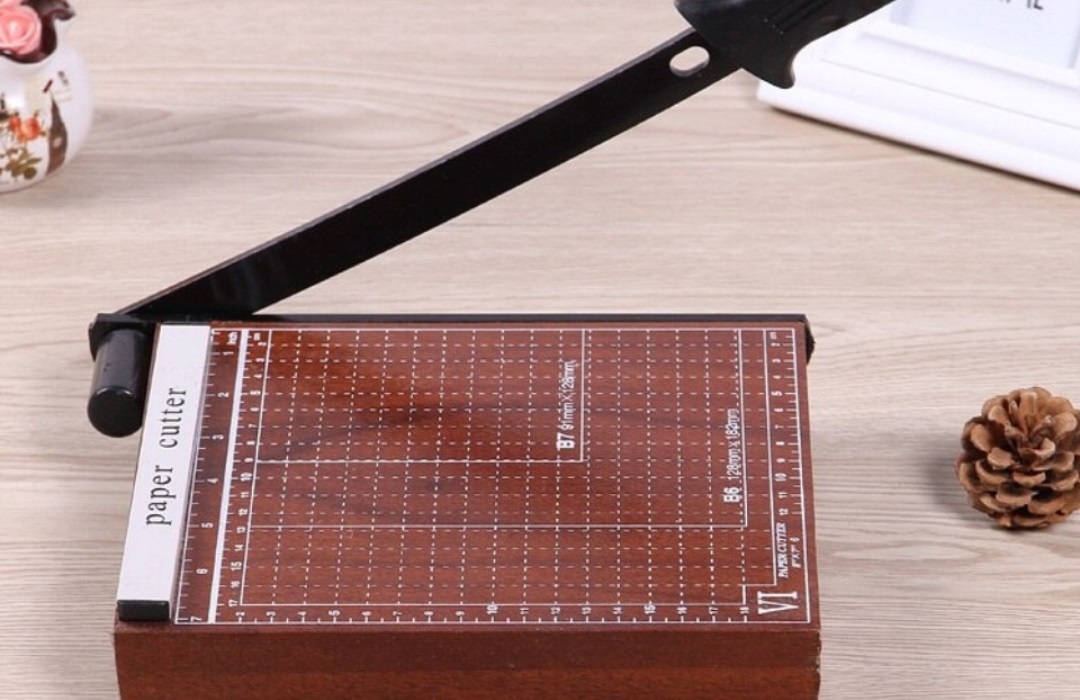
Step 5: Cut the Printed Photo Accurately
Once your 2×2 photo is printed, the final step is to cut it precisely to meet official size requirements. A clean and accurate cut ensures that your photo looks professional and fits correctly in applications.
Use the Right Tools for Precision
To achieve a perfect 2×2-inch cut, use the following tools:
- A ruler helps measure the exact dimensions before cutting.
- Sharp scissors: Ideal for careful cutting, but make sure they are sharp enough to prevent jagged edges.
- A paper cutter or guillotine: Provides the most precise and straight cuts, ensuring a professional finish.
Make Precise Cuts for an Exact 2×2 Size
- Measure and mark the cutting lines : Use a ruler to mark the 2×2-inch dimensions lightly with a pencil.
- Align your cutting tool: If using a paper cutter, make sure the photo is placed correctly before making the cut.
- Cut slowly and carefully: Follow the marked lines, ensuring that all edges remain clean and straight.
Conclusion
Now, to print 2×2 photo at home is a simple and cost-effective alternative to visiting a professional studio. By following these easy steps provided above, you can create a professional-looking passport or ID photo from the comfort of your home. Whether for passports or personal use, this DIY method ensures you always have the right-sized photo whenever you need it.


Leave a Comment