

How to Take a Passport Photo with iPhone
- Understanding Passport Photo Requirements
- How to Take Passport Photo at Home with iPhone
- Edit the Passport Photo with PicWish
Understanding Passport Photo Requirements
Before taking your passport photo with an iPhone, it’s a must to know the specific requirements that your photo must meet. So check these guidelines ensure your photo meets the passport photo standard. Here are the key criteria:
1. Size and Dimensions: Your passport photo must be 2×2 inches (51×51 mm) in size. The head must be between 1 to 1 3/8 inches (25 to 35 mm) from the bottom of the chin to the top of the head. This ensures your face is properly framed and clearly visible. Also, keep in mind that there are different sizes requirement for each country. So make sure to check a free passport photo maker guide.
2. Background: The background should be plain white or off-white. This provides a clear contrast to your facial features, making identification easier.
3. Lighting: Proper lighting is essential. Avoid shadows on your face and the background by using natural light or well-placed artificial lighting. Plus, make sure the entire face is evenly lit with no red-eye or overexposure.
4. Expression: Maintain a neutral facial expression or a natural smile with both eyes open. Also, avoid exaggerated expressions such as wide smiles or frowns.
5. Attire: Wear normal, everyday clothing. Refrain from wearing uniforms, except religious clothing worn daily. Furthermore, your clothing must contrasts with the background to avoid blending in.
6. Head Coverings and Glasses: Head coverings are only allowed for religious reasons and must cover the features or your face. Additionally, glasses are no longer permitted in passport photos unless for medical reasons. In this case, you need a signed statement from a medical professional.
How to Take Passport Photo at Home with iPhone
Next, let us prepare properly to ensure your passport photo meets all the necessary requirements. Follow these steps to set up your photo shoot:
Choose the Right Location: Select a well-lit area with a plain white or off-white wall as your background. Natural light is best, so consider setting up near a window. If that’s not possible, use soft, evenly distributed artificial lighting to avoid harsh shadows.
Gather Your Equipment: You don’t need professional photography equipment, but a few basic tools can help. Have your iPhone ready, preferably with a tripod or a stable surface to keep it steady.
Set Up Your Lighting: Ensure your face is evenly lit. Next, position yourself facing the light source to avoid shadows on your face. If using artificial lights, place them at 45-degree angles from either side of your face to provide balanced lighting.
Groom Yourself: Make sure your hair is tidy and doesn’t cover your face. If you wear makeup, keep it natural. Lastly, avoid glossy products that can reflect light.
Positioning: Stand or sit up straight, facing directly into the camera. Then, keep your head centered within the frame. After that, maintain a neutral facial expression or a natural smile, and keep your eyes open while looking directly at the camera.
Use the Timer Function: If you’re taking the photo yourself, use the iPhone’s timer function. This allows you to position yourself correctly and avoid the slight movement that can occur when pressing the shutter button. Set the timer, get into position, and let the camera capture your photo.
Edit the Passport Photo with PicWish
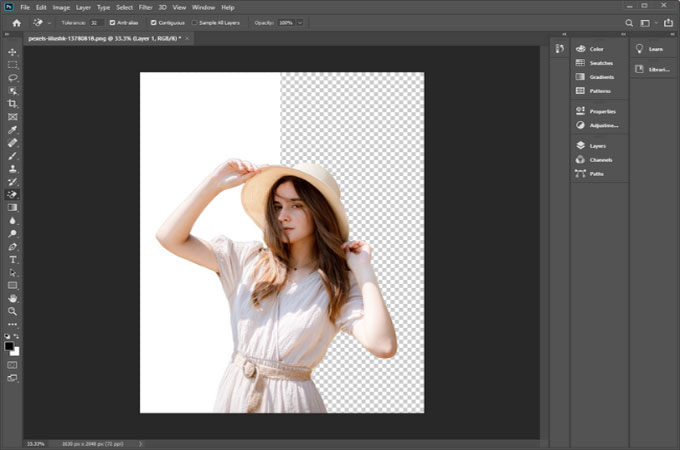
Let’s say that you’re in a hurry and you only have your iPhone to take your passport photo. Luckily, we have the perfect solution on hand. With PicWish, we can edit your picture and turn it into a photo that qualifies with the standard. PicWish can remove the background of your photo and change it to white. Additionally, it can resize the picture to your preferred size. In fact, it has preset sizes derived from the common passport sizes.
How to Edit Passport Photo using PicWish
- Download and install PicWish on your App Store.
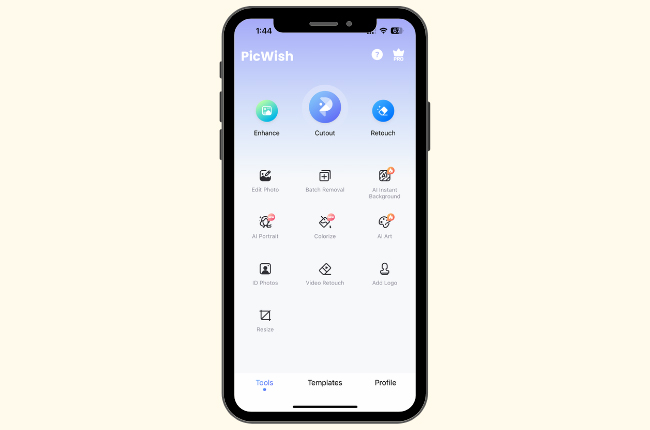
- Then, launch it and go to ID Photos.
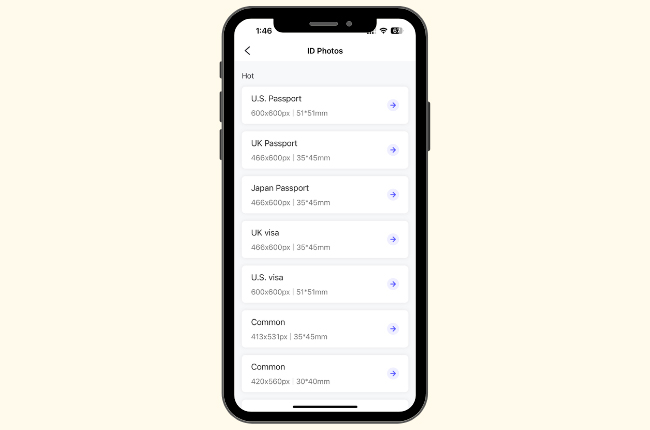
- From here, select the size you need for your passport then upload the picture right after.
![choose the size]()
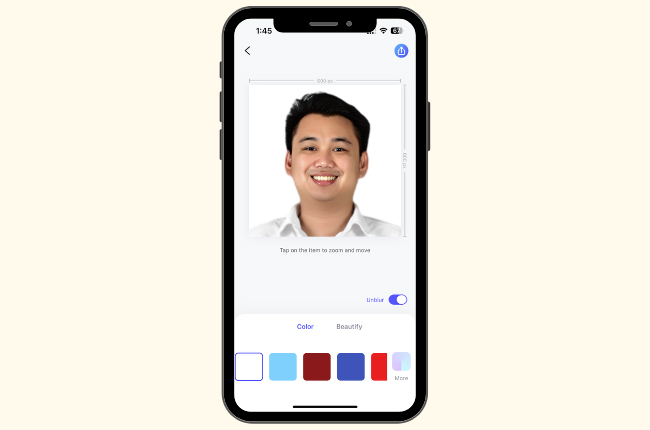
- After that, select the white color for the background and save it on your iPhone.
![create a passport photo on iphone using picwish]()

Conclusion
Taking the perfect passport photo with your iPhone is not only convenient but also a cost-effective solution that saves you from the hassle of visiting a photo studio. By understanding and adhering to the official passport photo requirements, preparing your setup carefully, and utilizing your iPhone’s features effectively, you can achieve a professional-quality photo that meets all necessary standards. Whether you’re renewing your passport or applying for one for the first time, following these steps ensures a smooth and successful process. Embrace the power of your iPhone and take control of your passport photo needs with confidence.


Leave a Comment