How to Make Stickers with iOS 17
iOS 17 New Features

Stickers: Now, your iPhone lets you use your own photos to make stickers. With this, you can apply filters like Shiny, Puffy, and Comic. Additionally, you can use animated Live Stickers by using your Live Photos.
Phone Call: It releases a new option called Contact Poster. Here, you can choose a photo, memoji, or a monogram to set it. Then, once you’re engaged with a call, their picture will appear on the screen.
FaceTime: In case someone missed your FaceTime call, you can now record a video or audio message and send it to them.
StandBy: Wanna make your phone useful even while charging? With the StandBY feature, your iPhone screen shows interactive full-screen experience like playing music, bedside clock, and others.
AirDrop: You can now swap numbers with the NameDrop feature. Here, you only have to hold your iPhone ear to other iOS device to activate it. With this, you can share your phone number, email address, and contact poster instantly.
SharePlay: With this new feature, you can instantly watch content, listen to music, play games in sync, and other activities by just holding your iPhone close to another iPhone.
These are the notable updates for iOS 17. You can check the full report here.
How to Create Stickers on iOS 17
In this section, let us all learn how to make stickers with iOS 17. Follow the steps below:
- Find and lunch the Photos app of your iPhone.
- Browse and select the photo you want to view it in full-screen.
- Tap and hold the subject, then select Add Sticker from the menu that will appear.
![remove the background to create stickers]()
- You can choose Add Effect to apply filters like Outline, Comic, or 3D.
![create the stickers on iphone]()
- Lastly, hit the X button to save and close the sticker menu.
![iphone ios 17 stickers]()
Best Alternative to Make Stickers
PicWish
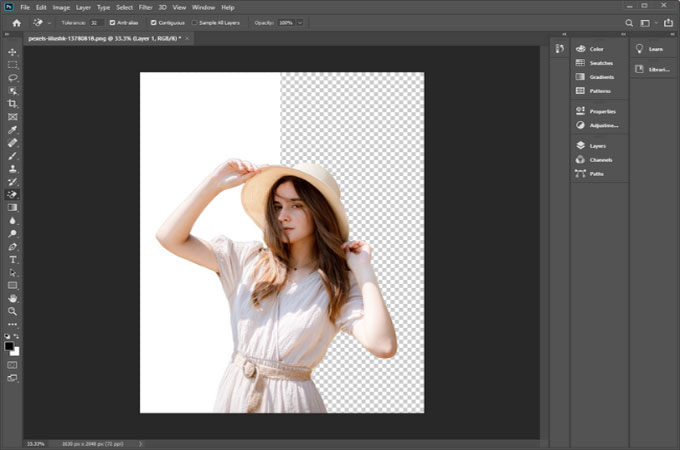
If you are looking for a more fun way to create stickers for your iPhone, you can use PicWish. It has a robust background remover that lets you turn any pictures into stickers. With its AI-powered image processor, it can handle even complicated backgrounds. Don’t worry about pet furs, hairs, and other intricate details in your subject, PicWish can still remove the background precisely. What’s more is that you can use 2 photos and combine them to make 1 sticker.
Follow the steps to learn how to create stickers on iOS 17 using PicWish
- Go to App Store and install PicWish.
- Launch the app and tap Cutout and upload the pictures you want.
![upload the picture to picwish]()
- Wait for a few seconds and let PicWish remove the background automatically.
- Next, hit Edit More and tap on Photos to choose the other picture as your background.
![remove the background using picwish]()
- Finally, tap the Download button to save the sticker.
![picwish ios 17 stickers]()
Conclusion
The newest iOS 17 has brought a wave of new and exciting features that expand the horizons of digital self-expression. The ability to create personalized stickers is one such feature that empowers users to add their unique touch to their iOS device. Additionally, we’ve introduced you to an excellent alternative in PicWish, which makes sticker creation even more fun and versatile. So, whether you choose to stick with the built-in iOS 17 features or explore the creative possibilities offered by PicWish, the world of sticker-making is now yours to explore.


Leave a Comment