

If you are truly serious about growing your e-commerce business, investing in product photography is essential. It convinces people to stay on your site and purchase products. In fact, shoppers will rely on the pictures on your website and decide whether they will keep interested and click “add to cart”. Having that said, you have to pay attention to keeping your photos look professional that build trust with your potential customers. For new brands, retailers faced a problem by which they thought it can be expensive, and hiring a photographer is necessary to have high-quality product photos, as well as to build loyalty and increase your sales. In this post, we’ve compiled DIY product photography guidelines to help you establish professional product photos on your site and a free online tool that you can use for free.
Must-Follow DIY Product Photography Guidelines:
Basic Requirements to Help You Take Good Product Photos
Choose the Right Camera
Imagine you’re a starter in the e-commerce industry but professionals advise you to buy a high-end camera, truly it’s really frustrating especially if you’re on a tight budget. Probably you would ask yourself if there are some DIY product photography tips for choosing an inexpensive yet effective camera to help you take professional look product photos. Indeed, it is unnecessary to have a full-frame DSLR camera system. You can use a smartphone or whatever you have handy to start taking photos. Besides, the quality of the camera these days gets good results and lets you adjust the exposure, lighting, contrast, and more to achieve the look you want to see in your image.
Use a tripod
This basic equipment is affordable and you can buy it online. Tripod is a three-legged fixture with a mounted head that provides stability and avoiding you from getting a blurred image. It makes the process of product photo editing easier. Meanwhile, professionals suggest people pick a tripod that is compatible with their camera to eliminate being shakey. You can watch tutorials on any popular video-sharing platform that can guide you on how to use it properly.

Table
Whether an indoor or outdoor shoot, it is recommended to use a folding table. You can choose a table with a width between 24 and 27 inches. The purpose of using a table is to save space in your studio and this is one of the best DIY product photography guidelines to achieve a clean product photo on your website.
White Cardboard/Sweep
A pure background is beneficial to attract potential customers. You can have it at a lower price or find it nearby. If you want a clean backdrop and show fewer distractions, ensure to include a white cardboard/sweep prior to taking a photo shoot.
Helpful Guide to Produce Perfect Product Photos
Apply different but appropriate camera angles
Now you’ve learned some DIY product photography equipment, then it’s time to learn how to get a perfect product photo with the following guidelines. It is important to practice different angles that will suit your object. You can use the front angle, profile angle, back angle, top shot, and more.
Set up your table/room
Setting up your table and room prior to taking a photoshoot is important. This way you’ll be able to achieve natural lighting. Also, it is not advisable to put the table outside if you are preventing a harsh look comes from direct sunlight.
Use a clean and plain background
A DIY photo backdrop for products is elsewhere, meaning you can get it even when you are at home. You can use a clean cloth or whiteboard, by which both of them are placed inside your doorstep. If you haven’t noticed, the majority of e-commerce platforms listed product photos with an off-white or simple white background. This is because to show a professional look that attracts lots of consumers.

Choose the Right Photo Editor to Retouch your Captured Photo
A product photo editing is a process where you have to retouch your picture taken using your camera or smartphone. There are countless photo editors that you can find online, but the problem is not all of them are free and not suited for product photography. Check out below the recommended online tool that helps you with the task.
Edit Your Photos Online – Free of Use
Believe it or not, useful online photo editors with DIY product photography tips and guidelines are around the corner. That said, achieving a professional product photo for your site is not a complicated process. Especially if you use this free online photo editor, known as PicWish. This platform enables users to get a precise cutout and lets you replace it with a backdrop you desire or plain color background like white provided within this site.
Simple steps with PicWish Background Remover:
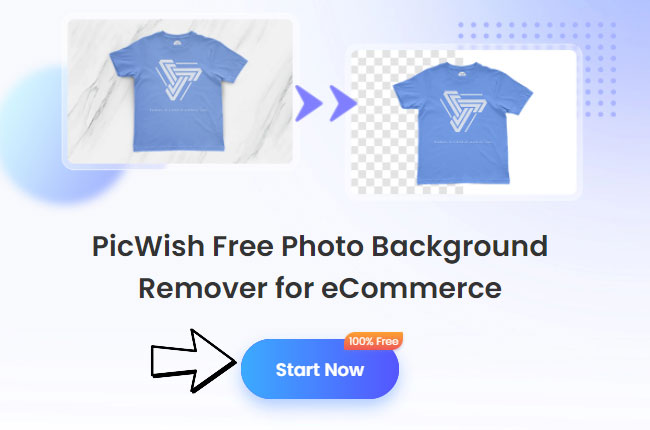
- Visit this page of PicWish photo background remover.
- From there, click the “Start Now” > “Upload Image” buttons to upload your product photo.
![diy product photography]()
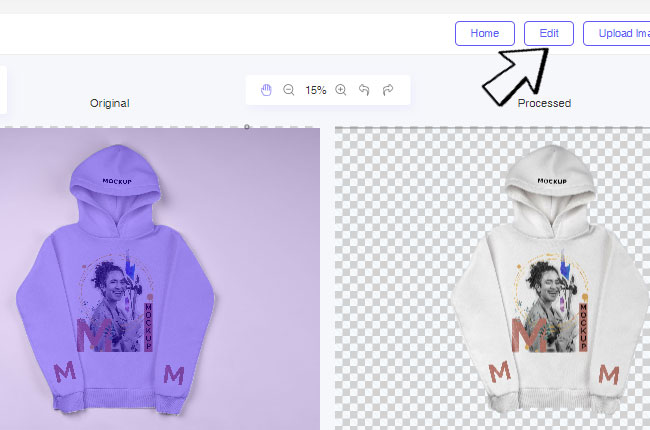
- Then you’ll see a background transparent.
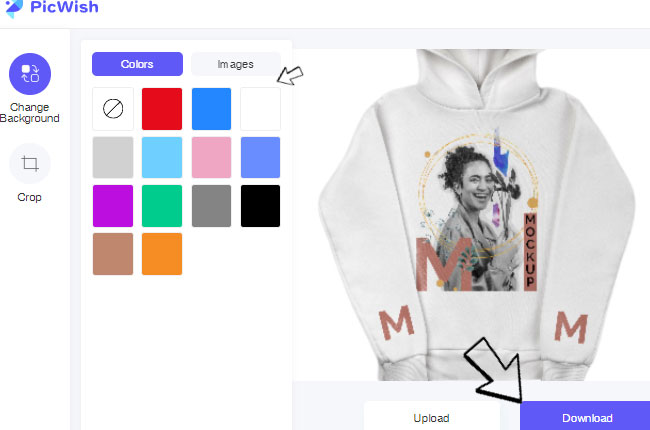
- Next, achieve a DIY photo backdrop for products by clicking “Edit” > “Change Background” tabs then pick a color white.
![diy product photography]()
- If you need, cropping feature is for you to making 1:1 photo for online shopping site.
- Download the perfect photo for free.
![diy product photography]()
Conclusion
PicWish is one of the best online photo editors that you can use freely. In just a few seconds, you can have a high-quality product photo that will catch the eye of your customers. Bear in mind that PicWish is also a user-friendly tool suitable for any type of user, newbie, or professional. Let us know if we miss your favorite DIY product photography tips and guide
Leave a Comment