Remove Background in Adobe Illustrator
Explanation of why removing backgrounds is important
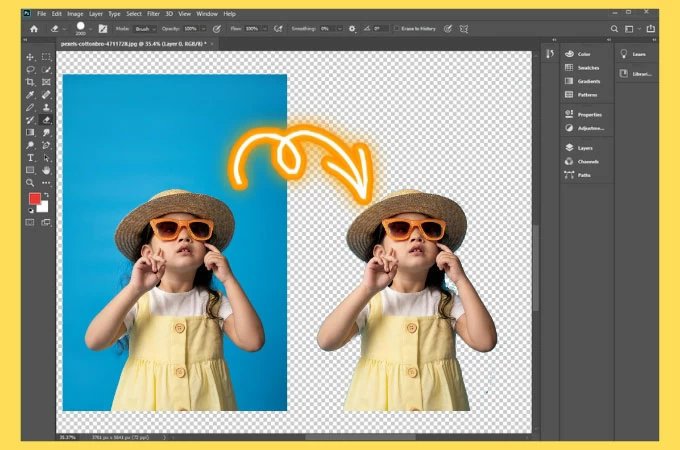
Removing backgrounds from images is crucial for various reasons, primarily to enhance visual appeal and streamline design processes. By eliminating distracting or irrelevant backgrounds, the main subject of an image becomes the focal point, resulting in a more aesthetically pleasing composition. This is particularly important in branding and marketing, where images often need to be placed on different backgrounds across various platforms. Moreover, it ensures that images seamlessly integrate with their surroundings while maintaining brand consistency, ultimately contributing to a professional and polished visual identity. Check this article for you to know how to remove background in Illustrator.
Overview of the process in Illustrator
Illustrator is widely used by graphic designers, illustrators, and artists to create vector-based artwork for various purposes, such as logos, icons, illustrations, typography, and complex graphics for print, web, video, and mobile applications. Unlike raster graphics editors like Photoshop, which works with pixels, Illustrator uses mathematical equations to create shapes and paths, allowing users to scale artwork to any size without losing quality. From the menu bar, users can access a wide range of tools and features for drawing, painting, typography, and manipulating objects, making it a versatile tool for professional design work. This includes various background removal tools like Magic Wand, Image Trace, and Pen tool, highlighting Illustrator’s capability to offer precise and efficient design solutions.
How to Make a Transparent Background in Illustrator
A. Using Image Trace
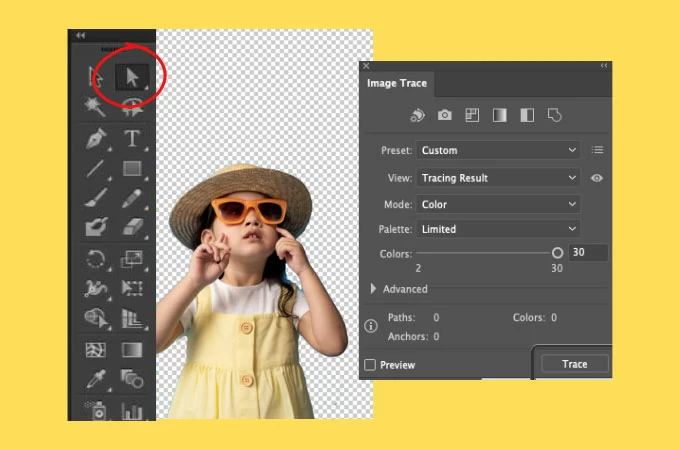
Utilizing the Image Trace function on how to remove background in Illustrator entails converting the image into vectors before eliminating the undesired background. This technique proves optimal for images featuring uncomplicated or uniform backgrounds. The complexity of the image’s background correlates with the duration required for color selection and deletion. Access the Image Trace panel and select Image Trace to start converting your image into a vector format.
B. Using Magic Wand

For optimal results, rely on the Magic Wand tool when your picture’s background or image backgrounds feature a solid or uniform color range. Keep in mind that this tool is tailored for vector file formats such as EPS, SVG, or AI, and might not function effectively with raster images.
C. Using the Pen tool in Illustrator
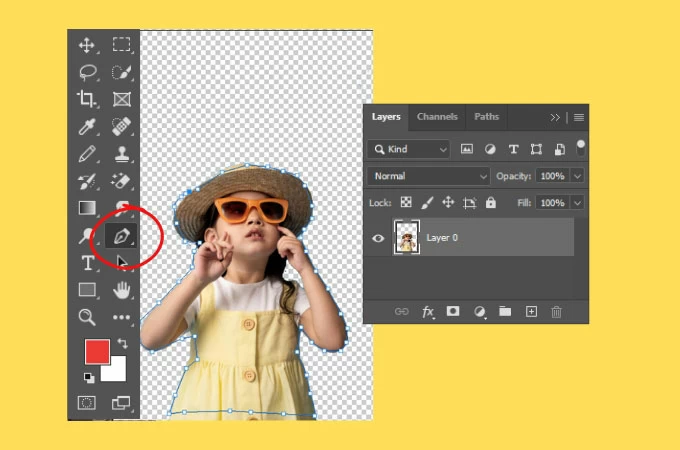
When dealing with subjects featuring intricate or elaborate edges, the Pen tool stands out as the optimal choice. Its versatility enhances the background removal process, empowering you to meticulously craft a precise and tailored outline around the image subject, ensuring a seamless result. For achieving a background transparent or transparent background with detailed edges, creating a clipping mask is a highly effective method.
Tips and Tricks
Choose the Right Tool
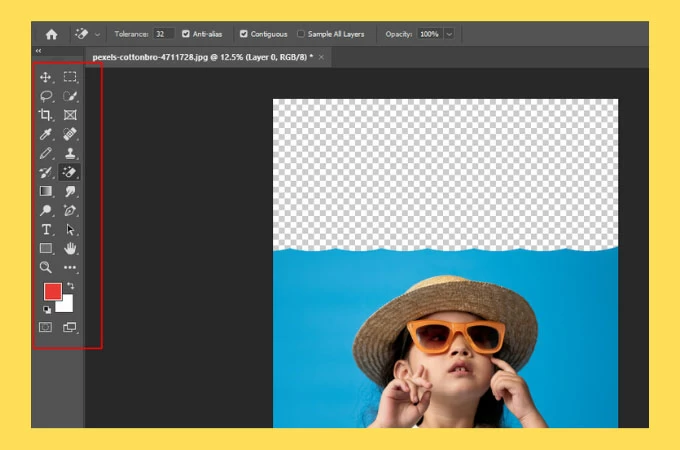
To know how to remove background in Adobe Illustrator, select the appropriate tool based on the complexity of the background and the image subject. Use the Magic Wand tool for solid backgrounds and the Pen tool for intricate edges.
Refine Edge

After removing the background, use the “Refine Edge” option to fine-tune the selection. This feature helps smooth out rough edges and improve the overall accuracy of the selection.
Use Clipping Masks
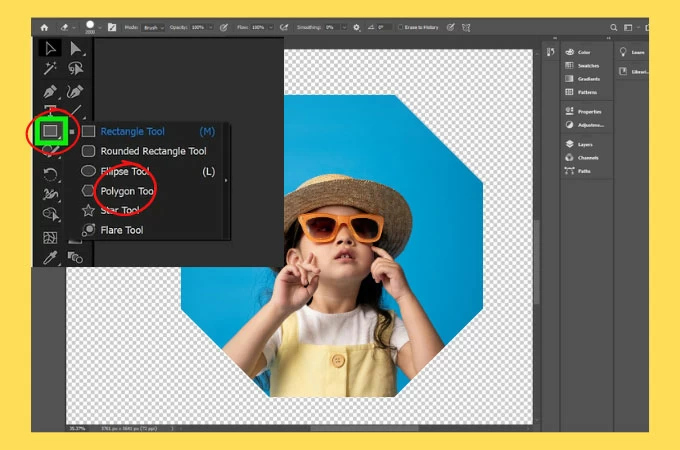
Instead of deleting the background, consider using clipping masks to hide unwanted areas. This non-destructive method allows you to easily adjust or revert the changes later.
Experiment with Blend Modes
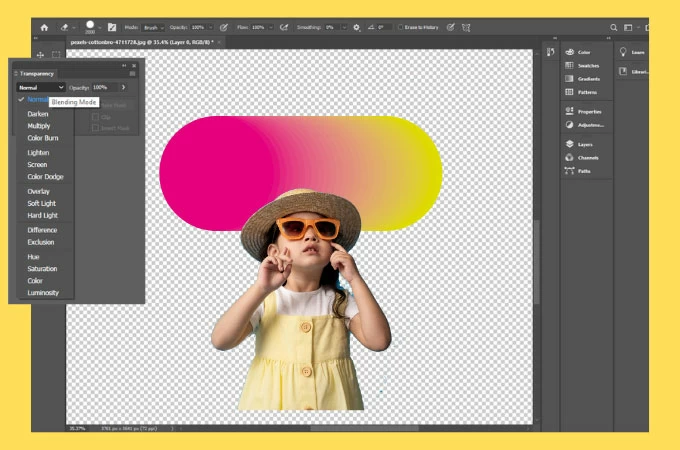
Experiment with different blend modes, such as Multiply or Screen, to blend the image seamlessly with the new background.
Utilize Adjustment Layers
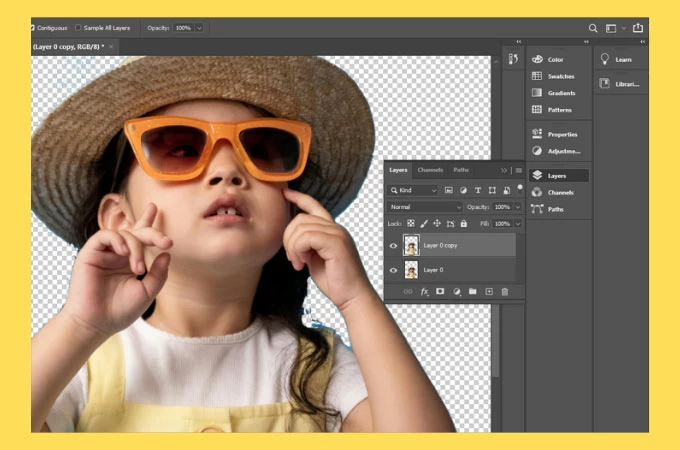
Apply adjustment layers, such as Brightness/Contrast or Hue/Saturation, to match the colors and tones of the subject with the new background for a more cohesive look.
Save Selections
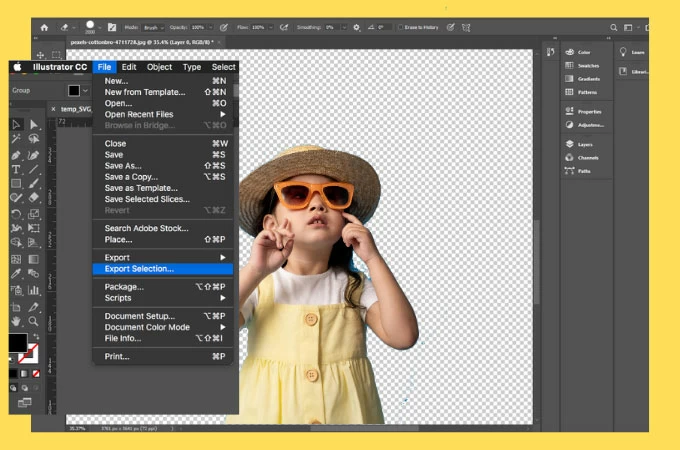
Save your selections as paths or alpha channels for future use. This saves time and effort when working on similar images or projects.
Check for Imperfections
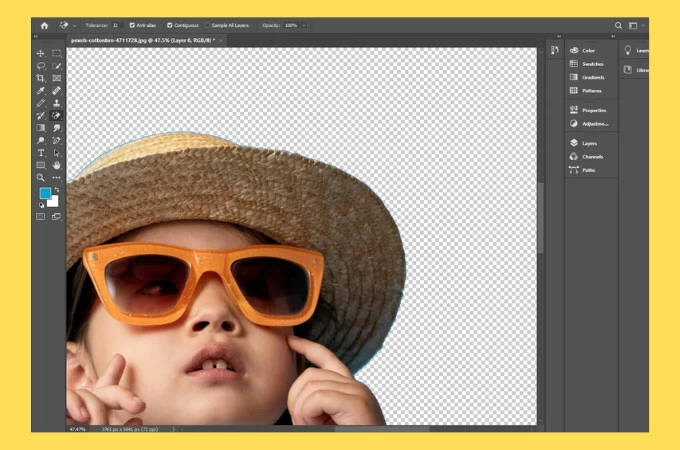
Zoom in and inspect the edges of the subject carefully for any imperfections or remnants of the background. Use the appropriate tools to clean up any stray pixels or artifacts.
Save Multiple Versions
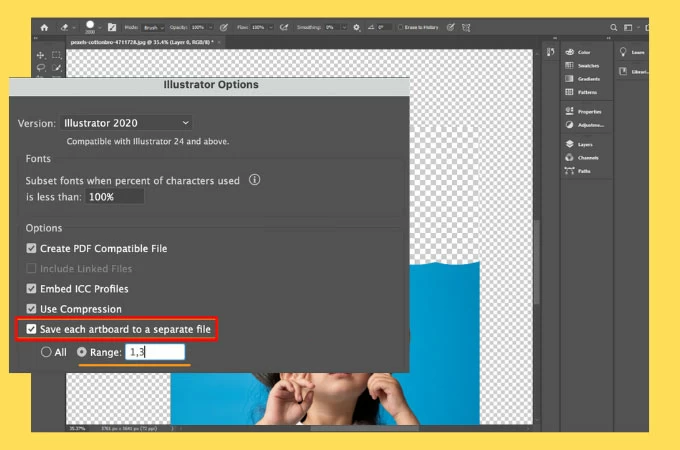
Save multiple versions of your artwork at different stages of the editing process. This allows you to revert to previous versions if needed and compare different approaches.
Take Breaks
Don’t hesitate to take breaks during the editing process to avoid eye strain and maintain focus. Stepping away from the project for a while can also provide fresh perspectives and creative insights.
Conclusion
Removing backgrounds in Illustrator isn’t just about erasing; it’s about unlocking creative potential. By mastering tools like Image Trace, Magic Wand, and the Pen tool, along with handy tips like refining edges and experimenting with blend modes, you’ll open up new avenues for design. With practice and patience, Illustrator becomes more than software—it’s your canvas for crafting captivating visuals that stand out.



Leave a Comment