Add Snowflakes to Photo
PicWish
If you’re looking for the best way to add snow background to photo, use the AI Background Generator tool of PicWish. Here, you can get studio quality and realistic shots quickly. With its AI technology, PicWish seamlessly places the subject in a snowy or winter scene. Additionally, it has preset portrait templates for Snowy Night and Winter backgrounds. What’s more is that you can even customize the snowy background. If you want, you can also use PicWish to add a Santa hat to your photos for free. PicWish also can Enter prompts and let it describe the snow scene you have in mind, and let PicWish do the rest of the work.
- First, visit PicWish and access its AI Background Generator to begin.
- Hit Create AI Background and upload the image.

- Let PicWish remove the background automatically and go to Portrait.
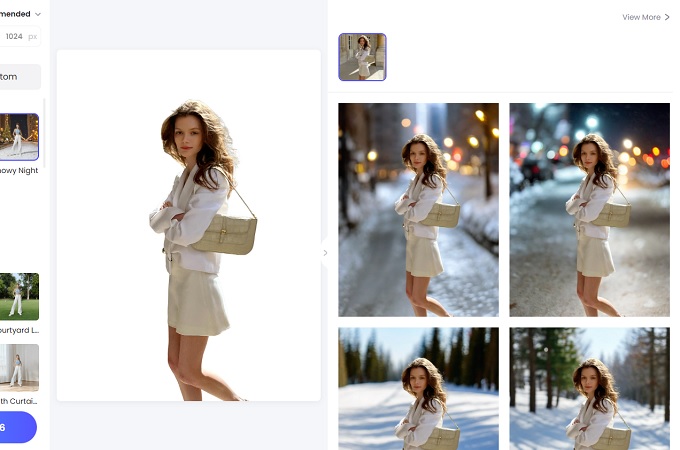
- Here, you can choose Snowy Night or Winter and hit Generate to apply the effect.
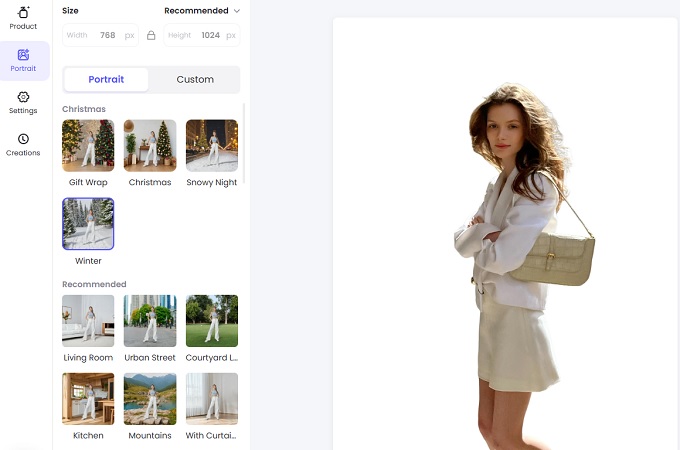
- Once done, download the image to save the snowy effect picture.
Befunky
Befunky has a filter available on PC and mobile phones that can add snowflakes to photo. Additionally, it has a snow filter to add falling snows in your photo. Moreover, it offers other editing tools to edit the picture and make it a winter-like scene. You can apply cooler colors to the image to reflect a frosty weather effect. Also, it can apply a cool tone filter to imitate a frosty hue effect to your picture.
- To add a falling snow effect, visit Befunky and upload the photo.

- Next, go to the Effects tab and select Winter. Choose the Winter 2 effect and adjust the filter according to your preference.
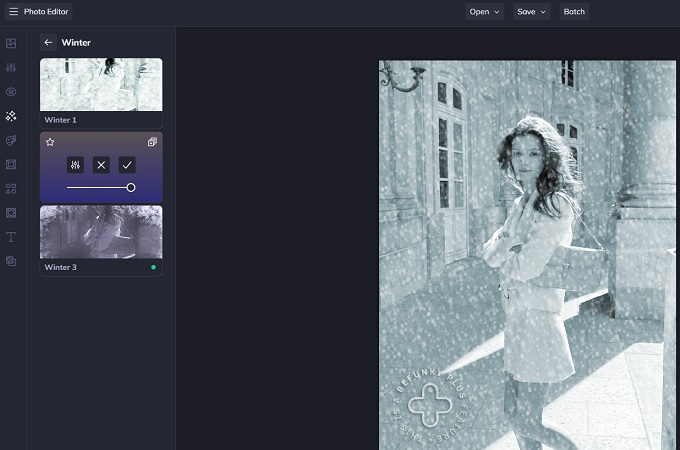
- After that, save the image and download it on your device.
Fotor
Another tool that can add snow to image is Fotor. Here, you can add different winter and Christmas-themed elements to your image directly. The best thing about it is that it has a virtual snowflake maker and let you resize and place the snowflake wherever you want. Aside from that, you can add snow overlay and other winter-inspired stickers to complete the look. Lastly, Fotor is also available on mobile phones so you can add snow effect to your photos anywhere.
- Visit Fotor and hit Add Snow to Photo Now and upload your picture.

- Go to Elements and search for the Snow filters available.
- Edit the size, placement, and color of the snow as you like.
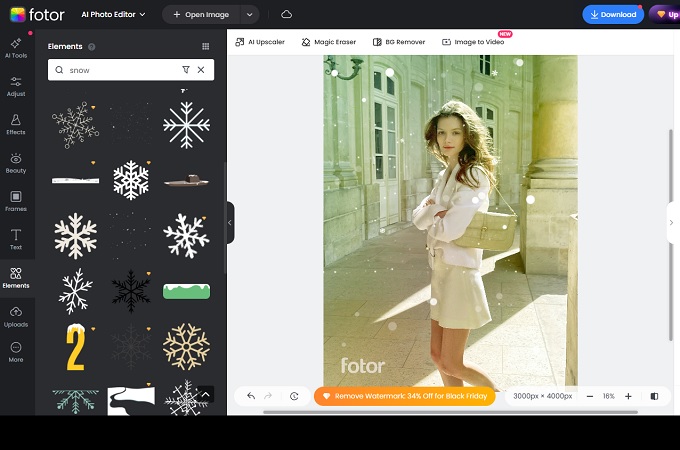
- Finally, preview and download the picture once you’re satisfied with the result.
Add Snow Effect to Image
If you want to bring a wintery charm to your photos, applying snow effects is the perfect solution. With tools offering preset snow filters and animated effects, you can achieve a snowy transformation in just a few steps.
Using Preset Snow Filters
Many editing platforms, such as Fotor, provide ready-made snow filters. These are ideal for quickly layering snow over your image. Select a filter, apply it, and adjust the intensity to suit your desired look.
Blending Snow Naturally
For a more polished result, take the time to adjust your image’s brightness, contrast, and saturation. Snow can brighten a scene, so increasing the brightness or reducing contrast help the effect feel more balanced. Alternatively, darker tones are necessary for dramatic snowfall against night scenes.
Adding Falling Snow for Videos and GIFs
If you’re looking to create engaging, animated visuals, and add snowflakes to photo, tools like Adobe After Effects can help. These tools let you add dynamic falling snow effects, perfect for social media or marketing content.
Tips for Best Results to Add Snow to Image
Adding snow effects to your images can create a stunning winter vibe. However, achieving the perfect look requires careful attention to detail. Here are some tips to ensure your snow-enhanced photos look polished and professional.
Match Snow Effects to Your Photo’s Lighting and Tone
To make the snow appear realistic, it’s essential to align the effect with the existing lighting and tone of your photo. For example, in bright, sunny scenes, choose light, subtle snowflakes that reflect the brightness. In darker or more dramatic settings, heavier and more defined snowflakes feel more natural. Also, adjusting the shadows, highlights, and temperature of your image can also help add the snow seamlessly.
Balance Snow to Enhance Your Image
While snow can add charm, too much of it distract from the main subject of your photo. Avoid overwhelming your image by adjusting the density and size of the snowflakes. Focus on creating a balance where the snow complements your image’s theme without obscuring key details.
Experiment with Different Tools
Not all snow effects are created equal, and the best results often come from trying out various tools and techniques. Explore options like Photoshop for advanced control, PicWish to add snow background to photo, or other apps with snow overlays. Each platform offers unique styles and features, so test a few to find the one that best suits your creative vision.
Conclusion
Adding snow effects to your images is a fantastic way to capture the magic of winter and elevate your photos with seasonal charm. From PicWish’s advanced AI background generator to other tools’ filters, there’s a solution for every style and project. This holiday season, let your creativity shine and add snow to image. Try it today and bring a flurry of festive wonder to your images!


Leave a Comment