How to Remove Light Glare from Photo
Why Light Glare Happens in Photos
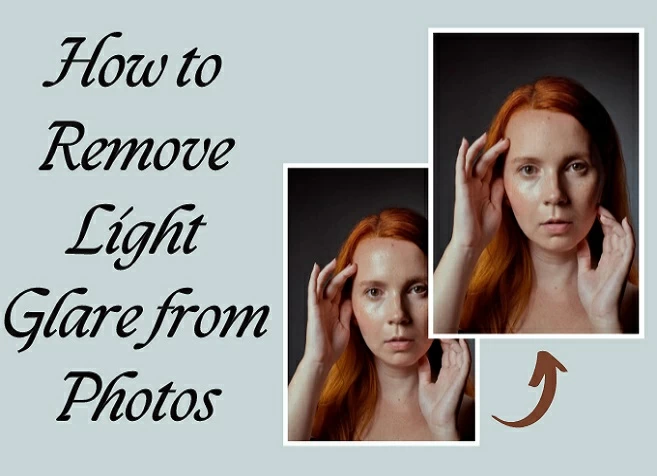
Light glare is a common issue that photographers encounter. It happens due to various lighting conditions and reflective surfaces. So understanding the causes of glare is the first step in learning how to manage it effectively.
One of the primary causes of glare in photos is direct sunlight. When the sun’s rays hit shiny surfaces, they reflect back into the camera lens. Thus creating bright, distracting spots in the image. Then, these reflections result in a washed-out effect.
Another frequent cause of glare is the use of camera flash. In low-light situations, a flash can help illuminate the subject, but it can also create harsh reflections. This can result in white or bright spots in the photo, making it difficult to see the subject clearly.
Reflective surfaces in indoor settings, such as windows and mirrors can also contribute to glare. When light sources bounce off these surfaces, they generate glare that can distort colors and details in the photograph.
PicWish
PicWish offers a simple way to remove glare from photos through its Remove Unwanted Object tool. The process involves using AI-powered technology to identify and eliminate glare spots. Users can brush over the areas affected by glare, and the tool will blend those spots with the surrounding image for a natural finish. Additionally, it supports both manual and automatic removal. Thus making it versatile for various glare issues. Furthermore, it removes unwanted objects without any quality loss.
Remove Light Glare from Photo with PicWish
- First, visit the Photo Retouch tool of PicWish and upload the image.
- Next, pick any Retouch tool you want and highlight the area where the glare is.
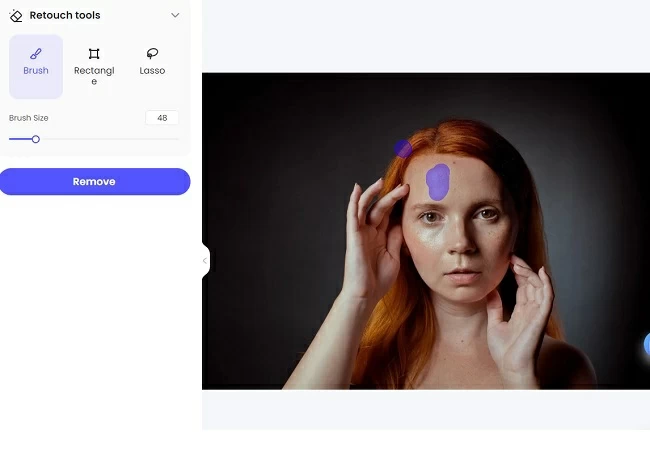
- Once done, click Remove and wait until PicWish finished processing it.
- Finally, hit Save to download the picture without the glare effect.
![download the image without the glare using picwish]()
MyEdit
Next on the list of tools to remove light glare from photo online free is MyEdit. This online app also offers an AI-based object removal tool. First, users can manually select the areas affected by glare. Then the tool automatically fills in the selected region by blending it with the surrounding pixels for a seamless result. Moreover, it is is designed to work on various imperfections. This includes light reflections and unwanted objects, enhancing the overall quality of the photo.
How to Use MyEdit
- Launch your browser and access the AI Object Removal feature of MyEdit.
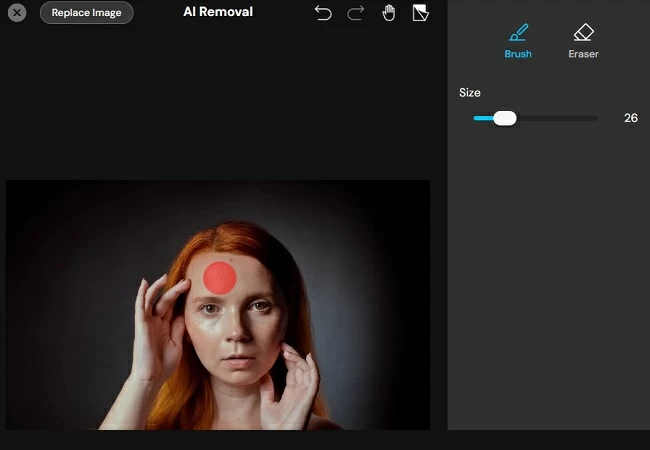
- Upload the picture and use the brush tool to highlight the glare area.
![highlight the glare area using myedit]()
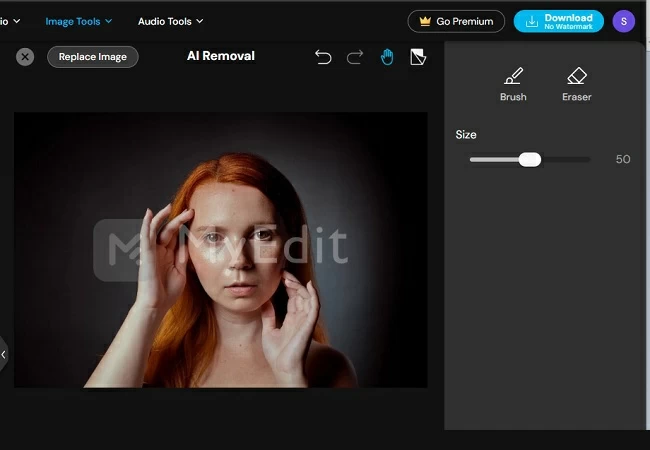
- Lastly, click the Remove button and download the edited image afterward.
![download the image without the glare using myedit]()
Fotor
Fotor provides a Remove Glare feature using AI technology. It automatically detects and smooths out glare areas in a photo. Thus blending them seamlessly with the surrounding pixels. Moreover, its AI technology makes the process simpler as you only need to highlight the area then let the tool do the rest. Furthermore, the tool is available on Android and iOS so you can remove the glare anywhere you are.
How to Remove Light Glare from Photo iPhone using Fotor
- Install the Fotor app on your iPhone.
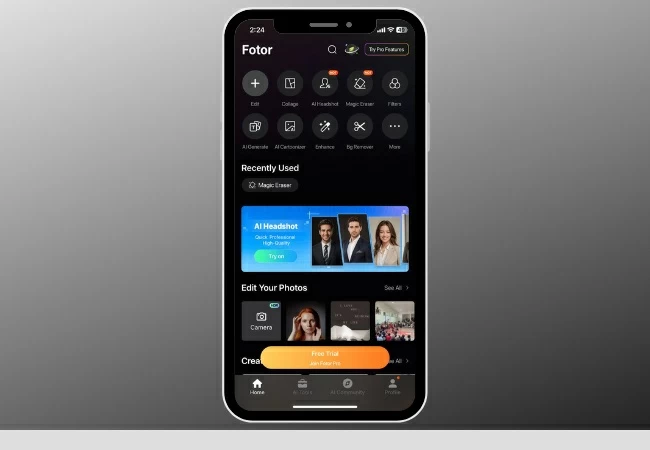
- Next, go to the list of tools provided and select Magic Eraser.
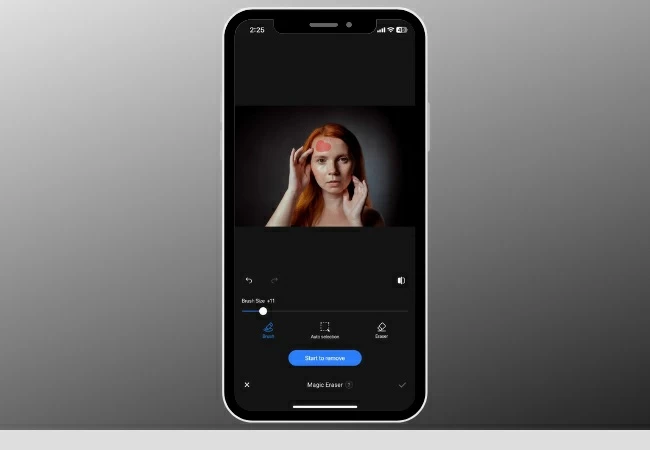
- From here, upload the photo and brush the area where the glare occurs.
![upload the image to fotor]()
- Then, tap the Start to remove button and save the picture once the process ends.
![highlight and remove glare using fotor]()
Conclusion
Removing light glare from photos is essential for enhancing image quality. Especially when unwanted reflections obscure important details. So understanding the causes of glare can help you prevent it in future shots. For those instances where glare does appear, tools like PicWish, MyEdit, and Fotor offer simple, AI-powered solutions to eliminate glare effectively. With these methods, you can restore your photos and learn how to how to remove light glare from photo.





Leave a Comment