

How to Take Product Pictures
- Essential Equipment for Product Photography
- Setting Up Your Product Photography Studio
- Camera Settings for Perfect Product Shots
- Editing Your Product Photos Like a Pro
- Optimizing Product Photos for eCommerce & SEO
Essential Equipment for Product Photography
First product photography tips, you must secure proper equipment for taking great product photos. Luckily, you don’t always need the high-end or latest models to achieve polished results. Meanwhile, these essential tools are enough, let’s check them:
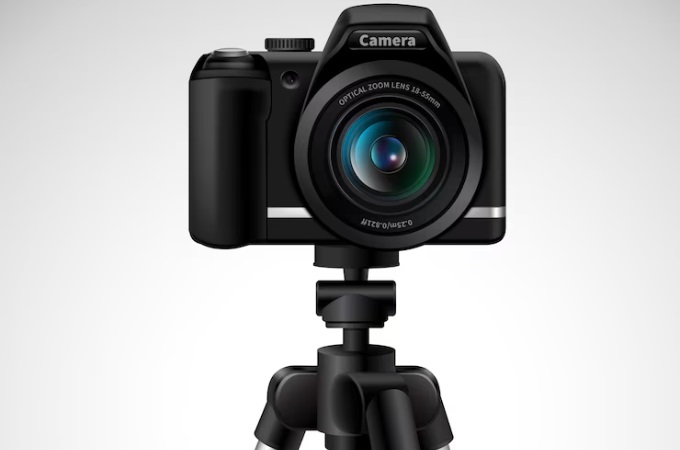
Camera: Smartphones to DSLRs
Smartphones
Pros:
- Always accessible (no additional fee if you already have one)
- Great for beginners
- Modern phones (iPhone 16 Pro, Samsung Galaxy S25) offer 48MP+ resolution
Cons:
- Limited controls
- Struggles in low-light setting due to smaller sensor
- Has fixed lens thus limiting angles
DSLR Cameras
Pros:
- Extensive lens selection
- Long battery life
- Optical viewfinder helps in bright light
Cons:
- Bulkier body
- Pricy (depends on the model)
Tripod
To achieve a shot that is perfectly inside a frame, a tripod is the key to this. Here, it eliminates camera shake to capture sharp images. Additionally, it allows long exposures even in low light settings. Furthermore, it is perfect for capturing several products in a single setting.
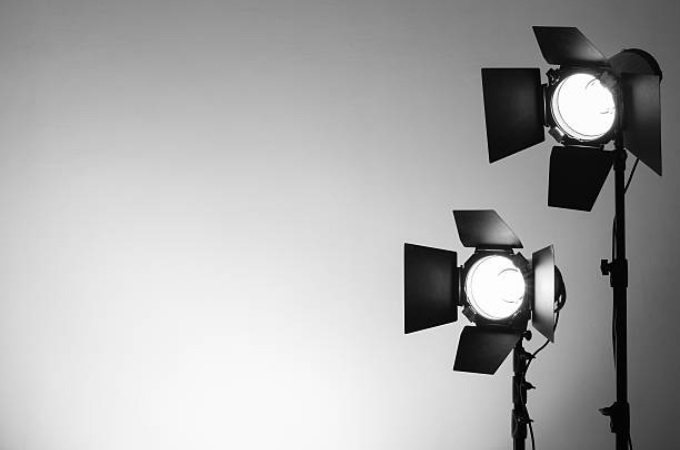
Lighting Setup
For lighting, it is best to avoid shadows that would cover the product in your pictures. If the weather is good, natural light is perfect and free. Keep in mind to use white curtains to avoid direct sunlight. Additionally, try to shoot during golden hours for warmer tones. But if you have an access to a photo studio or artificial lights, please do. It is more reliable compared to natural method since it provides controlled and continuous lighting for your products. LED panels, softboxes, and ring lights are common examples of it.
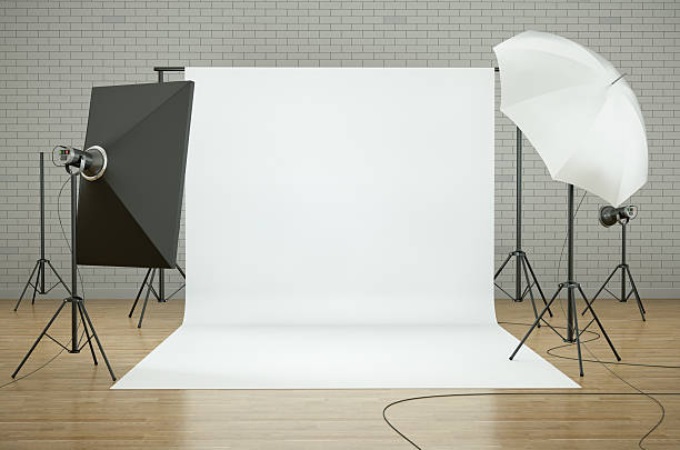
Backdrop Choices
Usually, a white background is the top choice for backdrops. Why? It creates a clean image without any distraction and focuses more on the product itself. Additionally, it is easy to edit and won’t cost too much ink for printing. Meanwhile, you can still use colored or scene backdrops especially if you have a theme or following your brand’s colorway. Wooden boards and marble are some examples for usual backdrops. For jewelry, fabric backdrops are popular.
Bonus Tools
- Reflectors – Bounce light into shadows
- Diffusers – Soften harsh lighting
- Remote Shutter – Prevent camera shake
- Turntable – For 360° product views
Setting Up Your Product Photography Studio
To know how to take product photo, you must have a good set-up. Your shooting environment has a significant impact on the final product photos. Meanwhile, here’s how to design a productive studio on any budget:
Choosing Your Photography Space
A DIY studio in your home is enough especially for beginners and small businesses. Additionally, it is easier to set-up since you can leave your equipment at your place. For the room, make sure you have enough space ideally 10’x10′ for lighting setups and props. But if you have a budget or you require to shot several products, a photo studio is a must. Here, you can use their equipment including lightings, custom backdrops, and others.

Lighting Placement
For the placement, position the main light at 45° to product. Also, place it slightly above the product level to avoid shadows. For fill lights, use it as a reflector to softens any shadows.
Camera Settings for Perfect Product Shots
Manual Mode
Aperture (f-stop)
- f/8-f/11 (Ideal for most products – sharp from front to back)
- f/2.8-f/5.6 (For artistic shots with soft backgrounds)
Shutter Speed
- 1/125 sec or faster (Standard for handheld)
- 1/30-1/60 sec (Tripod shots with static products)
ISO
- ISO 100-400
- Only increase ISO when absolutely necessary
White Balance
Preset Modes:
- Daylight (5600K) – For window-lit shots
- Tungsten (3200K) – Under warm artificial lights
Custom White Balance Method:
- Place gray card in scene
- Take reference photo
- Set custom WB in camera
RAW vs. JPEG
Why Professionals Shoot RAW
- Recover highlights/shadows
- Adjust white balance non-destructively
- Sharper results
- Con: Larger files (50MB+ each)
When JPEG Works
- Suitable for e-commerce with 100+ daily products and social media posts
- Shoot JPEG+RAW if storage allows
Editing Your Product Photos Like a Pro
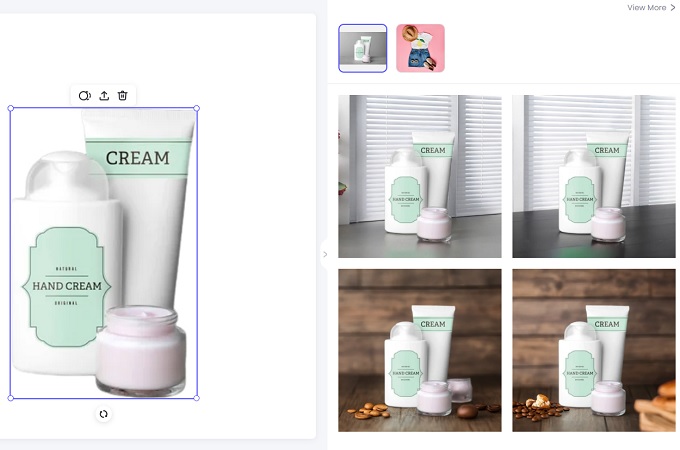
In case some things went south while you’re shooting, we can still fix that. There are tons of photo editing tools out there to help you how to take product photos. For instance, PicWish has AI tools that can help you fix product photos even you’re a beginner. If you don’t have a great backdrop, it has an AI Background Generator that can produce for you. Furthermore, it has several preset templates perfect for product photography scenes. These include fabric, grass, countertops, and plain colors, which are all suitable for product photography.
On the other hand, you can even use text prompts and enter your idea to generate a customize background. Also, you can resize the output following the required sizes for several eCommerce websites.
Optimizing Product Photos for eCommerce & SEO
For our final product photography tips, let’s ensure we optimize our product listing using SEO-friendly requirements. Here, it will increase the visibility which also affects the conversion rate.
Image Size Requirements
- Amazon: 1600+ px
- Shopify: 2048×2048 px
- Etsy: 2000-3000 px
- Instagram: 1080×1080 px
- Pinterest: 1000×1500 px
File Name
Rename your images. They should be available to search and use hyphen to separate each word.
Examples:
- mens-organic-cotton-t-shirt-black-front.jpg
- acme-wireless-headphones-white-angled.jpg
- luxury-leather-wallet-brown-lifestyle.jpg
File Compression
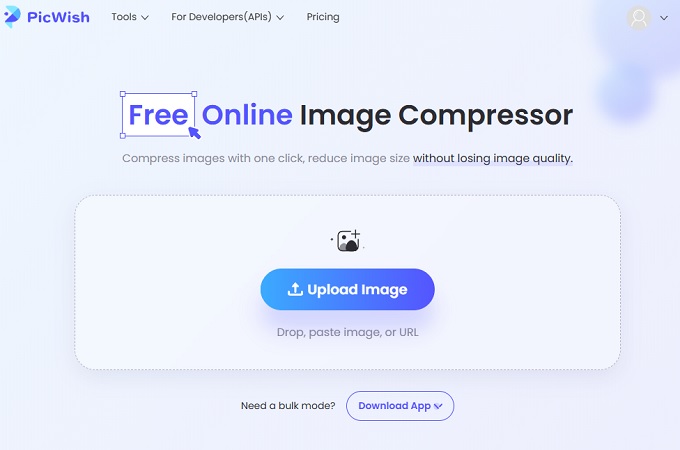
For most eCommerce platforms, the ideal file size for product photos is around 300 KB. To achieve that, you need online compression tools. For PicWish, its Free Online Image Compressor can reduce the image file size without compromising photo quality. Meaning, we can retain the high-quality shot we prepared and still upload it clearly to the websites. Moreover, it offers a user-friendly interface where you only need to upload the images to start the file compression.
Conclusion
Effective product photography aims to stand out in a crowded eCommerce market. With these tips, you now know how to take product photo like a pro. Also, try out various configurations, and improve your workflow. Want a little extra help? For simple background removal, resizing, and compression, PicWish is the answer! So go take some incredible product photos and start selling!


Leave a Comment