
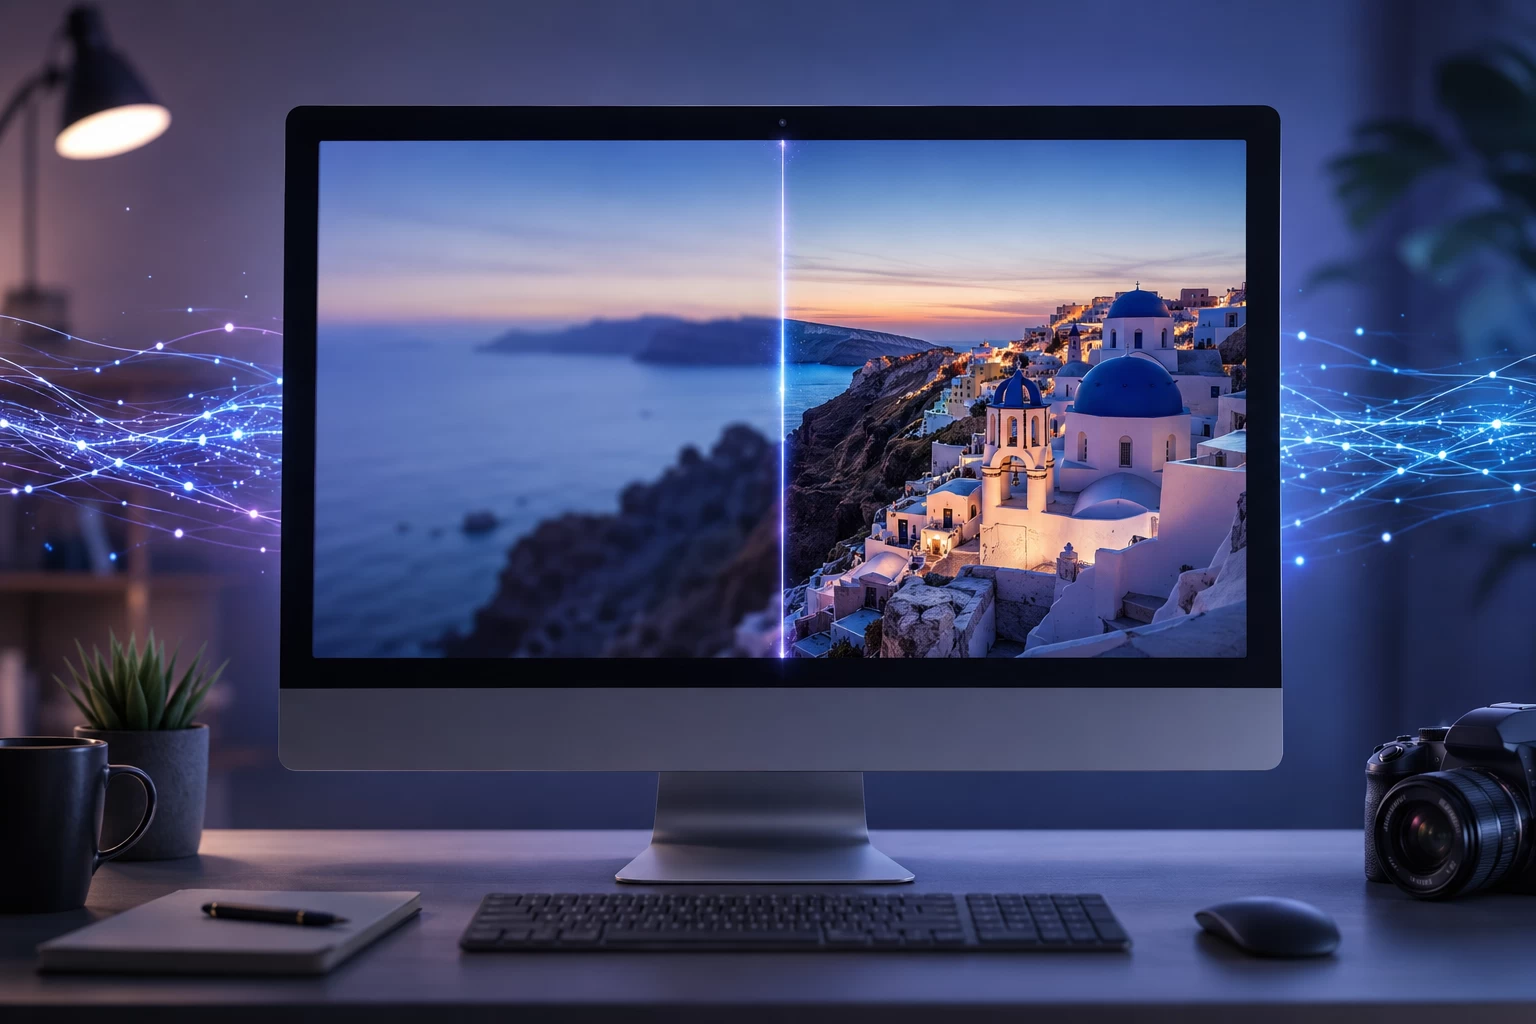
Quick Answer: How Can You Enhance Image Quality with AI?
You can enhance image quality with AI by uploading the image to an AI image enhancer such as PicWish and selecting a model that matches the content. AI can increase image resolution, sharpen blurry details, reduce digital noise, improve faces, and make text easier to read. For the best result, use a portrait model for faces, a text model for screenshots, and a general enhancement model for products, landscapes, and everyday photos.
What Is AI Image Enhancement?
AI image enhancement is the process of using artificial intelligence to improve the visual quality of a digital image.
Traditional photo editors require users to manually adjust sharpness, brightness, contrast, noise, and color. An AI image enhancer analyzes the content of an image and automatically determines which areas require improvement.
Depending on the model, AI image enhancement can:
- Increase image resolution;
- sharpen soft or blurry details;
- reduce grain and digital noise;
- improve facial definition;
- recover details lost through compression;
- enhance colors and contrast;
- make small text more readable;
- restore the appearance of old photographs.
AI enhancement is particularly useful when the original image is too small, slightly blurred, poorly compressed, or captured under difficult conditions.
However, AI cannot perfectly recover information that was never recorded. Instead, it predicts and reconstructs plausible details based on patterns learned from other images. This is why choosing the correct enhancement method is essential.
AI Image Enhancement vs. Upscaling: What Is the Difference?
Image enhancement and image upscaling are related, but they are not exactly the same.
| Process | Primary purpose | What it changes | Best used for |
|---|---|---|---|
| AI enhancement | Improve overall visual quality | Sharpness, clarity, noise, color and details | Blurry or dull images |
| AI upscaling | Increase image dimensions | Resolution and pixel count | Printing and larger displays |
| Sharpening | Strengthen visible edges | Local contrast around details | Slightly soft photos |
| Denoising | Remove unwanted grain | Noise and compression artifacts | Low-light and compressed images |
| Face enhancement | Reconstruct facial details | Eyes, hair, skin and facial edges | Portraits and selfies |
| Restoration | Repair older or damaged photos | Faded details, scratches and clarity | Old photographs |
An upscaler mainly makes an image larger. An AI enhancer attempts to make it look better.
Some AI tools perform both operations at the same time. They enlarge the image while improving details, reducing noise, and sharpening important areas.
What Types of Images Can AI Improve?
AI image enhancement can help with many image-quality problems, but the result depends on the source image and the selected model.
✅Low-Resolution Images
Small images often appear pixelated when enlarged. This commonly happens with images downloaded from social media, old websites, messaging applications, or compressed online listings.
An AI upscaling model can increase the image dimensions while reconstructing edges and textures. This makes the image more suitable for:
- Website banners;
- presentations;
- social media posts;
- product listings;
- small-format printing;
- digital advertising.
For this problem, prioritize resolution enhancement and detail preservation.
✅Blurry Photos
Blur can be caused by camera movement, incorrect focus, image compression, or a low-quality camera.
AI sharpening can improve the visible edges of objects and make a slightly blurry image clearer. It works particularly well when the main subject remains recognizable.
Severely blurred images are more difficult to recover because the original details may no longer be present. AI can create a cleaner-looking result, but it may not reproduce the exact original details.
✅Noisy or Grainy Images
Photos captured in low light frequently contain digital noise. This appears as random grain or colored pixels, especially in darker areas.
An AI denoising model identifies unwanted noise while attempting to preserve real details. It can help clean:
- Night photographs;
- indoor smartphone pictures;
- scanned images;
- compressed JPEG files;
- older digital photographs.
Excessive denoising may remove fine textures, so compare the result with the original before downloading it.
✅Blurry Portraits and Faces
Faces require a specialized enhancement model. A general sharpening tool may improve the entire photo without restoring important facial details.
A face enhancement model analyzes elements such as:
- Eyes;
- eyebrows;
- hair;
- lips;
- skin contours;
- facial edges.
This approach is useful for group photographs, old portraits, profile pictures, and slightly blurry selfies.
Because facial enhancement can reconstruct missing information, the result should remain natural and recognizable. Avoid applying the strongest enhancement level when only a small correction is required.
✅Product Photos
Clear product images are important for online stores and marketplace listings. Blurry edges, low resolution, or compression can make a product appear less professional.
AI can help improve:
- Product contours;
- surface textures;
- packaging text;
- colors;
- small product details;
- overall resolution.
Accuracy is particularly important for ecommerce. An enhancement model should preserve the actual appearance, shape, color, and features of the item rather than generate creative details.
✅Screenshots and Text-Based Images
Screenshots, scanned documents, signs, and infographics contain sharp geometric shapes and text. A portrait or general photo model may distort letters when trying to reconstruct them.
A text-specific enhancement model is better for:
- Screenshots;
- presentation slides;
- scanned documents;
- menus;
- posters;
- diagrams;
- labels;
- text-heavy graphics.
This model should prioritize clean letter edges, contrast, and readability.
✅Old Photos
Old photographs may suffer from fading, low contrast, noise, blur, scratches, or missing color.
AI restoration can improve clarity and facial details, while a colorization feature can add plausible color to black-and-white images. These are two different operations and should usually be evaluated separately.
For a valuable family photo, keep the original file and avoid overwriting it with the enhanced version.
Which AI Enhancement Method Should You Choose?
The correct method depends on the problem you want to fix.
| Image problem | Recommended AI treatment | Recommended model |
|---|---|---|
| Image is too small | Upscaling and detail recovery | General or high-resolution model |
| Portrait is blurry | Face reconstruction and sharpening | Face model |
| Product photo lacks clarity | Sharpness and resolution enhancement | General or product-compatible model |
| Screenshot is difficult to read | Edge and character enhancement | Text model |
| Photo contains digital grain | Denoising with light sharpening | General model |
| Old photo is faded | Restoration and contrast enhancement | Restoration model |
| Black-and-white photo needs color | AI colorization | Colorize model |
| Illustration looks pixelated | Edge-preserving upscaling | Anime or illustration model |
If an image has several problems, begin with its most important feature. For example, use face enhancement before general upscaling when the subject of the image is a person.
How to Enhance Image Quality with PicWish
PicWish provides an online AI image enhancer that automatically improves photo clarity. It can be used for portraits, product images, text graphics, illustrations, and everyday photographs.
The online workflow does not require traditional photo-editing skills.
Step 1: Upload Your Image
Open the PicWish Photo Enhancer in your browser and select the image you want to improve.
For the best result, upload the highest-quality original file available. A file received through a messaging application may be more compressed than the original photo saved on the device.
Step 2: Select the Appropriate Enhancement Model
Choose a model according to the image content.
For example:
- Select a face-oriented model for portraits;
- choose a general model for objects, landscapes, and product images;
- use a text-compatible model for screenshots and graphics;
- select an illustration or anime model for digital artwork.
The available models may vary depending on the platform and current version of the feature.
Step 3: Let AI Enhance the Image
PicWish analyzes the image and automatically improves its clarity and details. The processing time depends on the file size, image complexity, and selected model.
No manual adjustment of sharpness, contrast, or noise is required for the basic workflow.
Step 4: Compare the Original and Enhanced Versions
Use the before-and-after preview to examine important areas such as:
- Facial features;
- product edges;
- textures;
- small text;
- hair;
- background details;
- color consistency.
Do not judge the result only from the full-image preview. Zoom in to check whether the enhancement preserved natural details.
Step 5: Download the Result
Download the enhanced image when you are satisfied with the result.
If the photo will be printed or displayed at a larger size, check the output dimensions before downloading. A visually sharper image may still require additional upscaling for a large print.
How to Improve Different Images with AI
Method 1: Enhance a Low-Resolution Product Photo
For product photography, the objective is to make the item clearer without modifying its real appearance.
Use the following workflow:
- Upload the original product image.
- Select a general image enhancement model.
- Improve resolution and edge clarity.
- Zoom in on packaging, logos, and surface textures.
- Confirm that the product color remains accurate.
- Download the enhanced version.
- Resize or crop it according to the marketplace requirements.
Avoid creative enhancement models that generate new textures. Customers should receive a product that matches the listing image.
Method 2: Improve a Blurry Portrait
A face-focused model is more appropriate when the face is the central subject.
Upload the clearest original version and select face enhancement. After processing, inspect the eyes, hair, teeth, skin texture, and facial contours.
The result should look clearer without appearing excessively smooth or artificial. If the tool offers multiple enhancement levels, begin with the most natural option.
Method 3: Make Text in an Image Clearer
Text requires clean lines rather than reconstructed photographic textures.
Use a text or graphic enhancement model for screenshots, labels, posters, and scanned pages. After enhancement, check every important word carefully. AI may improve readability, but it should not be trusted to reproduce critical numbers or letters without verification.
For legal, financial, academic, or technical documents, compare the enhanced image with the original source.
Method 4: Enhance an Old Photograph
Start by scanning the photo at the highest practical resolution. Upload the scan instead of a screenshot or a photograph received through social media.
Apply general restoration or face enhancement first. If the photo is black and white, test colorization as a separate step so that you can compare:
- The original scan;
- the enhanced black-and-white version;
- the enhanced and colorized version.
This preserves more options and prevents the colorization from replacing the historically valuable original.
Method 5: Improve an Illustration or Anime Image
Illustrations contain outlines and flat colors that differ from photographic textures. Select a model designed for anime, drawings, or digital artwork if available.
A suitable model can improve line definition and reduce pixelation without introducing realistic photographic textures into the illustration.
Tips for Getting Better AI Enhancement Results
📌Start with the Best Source Available
Use the original camera image, scan, or exported file whenever possible. Avoid screenshots of photographs when the original file is available.
📌Crop Unnecessary Areas
If the important subject occupies only a small part of the image, crop the surrounding empty space before enhancement. This gives the AI more relevant pixels to process.
Do not crop too tightly around hair, product edges, or text.
📌Choose the Model Before Increasing Resolution
Identify whether the image is primarily a portrait, product, document, or illustration. Content-aware enhancement often matters more than selecting the highest enlargement factor.
📌Compare Results at 100% Zoom
The full preview can hide artifacts. Inspect fine details at their actual pixel size, particularly around faces, text, product edges, and repeating patterns.
📌Keep the Result Natural
The best enhancement is not necessarily the version containing the sharpest textures. For portraits and products, accuracy and natural appearance are usually more important than dramatic transformation.
📌Use Batch Processing for Consistent Images
Batch enhancement can be useful when processing multiple product images, employee portraits, or social media visuals captured under similar conditions.
Use images with comparable content and quality in the same batch. Different image types may require different enhancement models.
Is AI Image Enhancement Better Than Manual Editing?
AI enhancement is generally faster and easier than manual editing. It is suitable for users who want to improve an image without learning advanced software.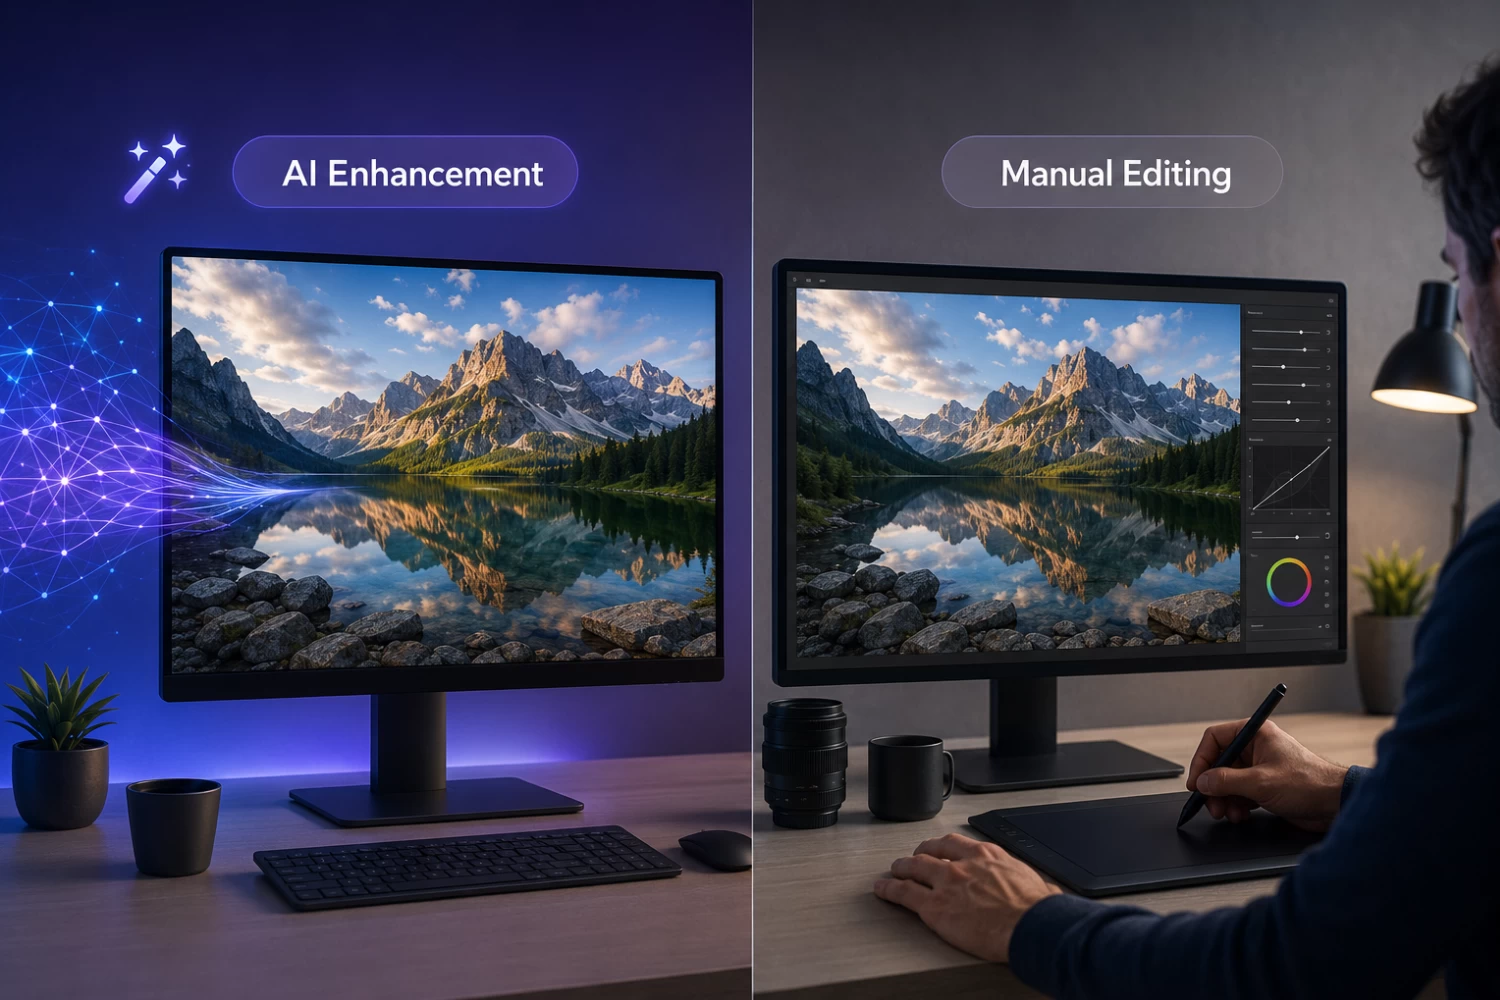
Manual editing remains useful when a project requires:
- Precise local corrections;
- professional color grading;
- selective sharpening;
- layer-based editing;
- advanced retouching;
- detailed print preparation.
The two approaches can also be combined. AI can provide the initial improvement, while manual editing can refine specific areas afterward.
For everyday photos, online content, product listings, and social media visuals, AI enhancement is often sufficient. Professional photography and demanding print projects may still benefit from manual control.
Final Thoughts
Learning how to enhance image quality with AI begins with identifying the actual problem. A small image needs upscaling, a noisy image needs denoising, a blurry portrait needs face enhancement, and a screenshot requires text-preserving processing.
PicWish provides a simple online workflow for improving image clarity without requiring traditional editing skills. Users can upload an image, select an appropriate enhancement model, compare the result, and download a cleaner version.
For the most natural output, begin with the best original file, use a model designed for the image type, and inspect important details before downloading. AI can significantly improve many low-quality images, but the final result should remain accurate and faithful to the original.
FAQ
⚡Can AI really improve image quality?
Yes. AI can improve image quality by sharpening edges, reducing noise, increasing resolution, enhancing faces, and reconstructing details affected by compression. The result depends on the quality of the source image and the enhancement model used.
⚡What is the best way to enhance image quality with AI?
Upload the highest-quality original file to an AI image enhancer and choose a model that matches the content. Use face enhancement for portraits, text enhancement for screenshots, and general enhancement for products, landscapes, and everyday photographs.
⚡Can I enhance image quality online?
Yes. Online tools such as PicWish allow you to upload and enhance an image directly in a web browser. You do not need to install professional photo-editing software for the basic enhancement process.
⚡Does increasing image resolution improve quality?
Increasing resolution adds more pixels, but it does not automatically create meaningful details. AI upscaling can produce a better result because it enlarges the image while attempting to reconstruct edges and textures.
⚡How can I enhance a face in a low-quality photo?
Use an AI model specifically designed for face enhancement. It can improve facial contours, eyes, hair, and other recognizable features more effectively than general sharpening.
⚡Can AI enhance text in an image?
AI can make slightly blurry text clearer by improving contrast and character edges. However, severely blurred text may be reconstructed incorrectly. Always verify important words, dates, codes, and numbers against the original source.
⚡Can AI enhance product photos without changing the product?
Yes, provided that you select a natural, general-purpose enhancement model. Inspect colors, packaging, logos, textures, and dimensions after processing to ensure that the result remains accurate.
⚡Is AI image enhancement suitable for printing?
AI enhancement can prepare small images for printing by increasing resolution and improving detail. The required output size depends on the physical print dimensions and intended viewing distance.
⚡Does AI enhancement reduce image noise?
Many AI image enhancers can identify and reduce digital noise from low-light or compressed photos. Excessive noise reduction may smooth fine details, so the enhanced version should always be compared with the original.
⚡Should I enhance an image more than once?
Repeated enhancement is generally not recommended. Processing an already enhanced result can create artificial textures, halos, or distorted details. It is usually better to return to the original image and select a different model.




Leave a Comment