

What is the Size of Wallet Size Picture in CM?
- Wallet Size Picture Size in CM: The Standard Dimensions
- How to Print a Wallet Size Picture
- Best Practices for Wallet Size Photos
Wallet Size Picture Size in CM: The Standard Dimensions
When we talk about a wallet size photo, we’re usually referring to a print that measures 2 x 3 inches. In centimeters, this translates to approximately 5.1 cm x 7.6 cm. Meanwhile, these dimensions make it compact enough to slip into most wallet photo slots, card holders, or small picture frames.
To break it down:
- 2 inches = 5.08 cm
- 3 inches = 7.62 cm

For simplicity, many people round this to 5.1 cm x 7.6 cm, which is accepted as the standard size for wallet photos. However, it’s important to note that sizing can sometimes vary slightly depending on the printing service or country. In some countries using the metric system, sizes might be listed directly in centimeters rather than inches. Also, some services may offer slightly larger or smaller options, such as 6 cm x 9 cm. Make sure to double-check the specific dimensions when ordering or printing wallet size photos.
How to Print a Wallet Size Picture
Whether you’re printing at home or using a professional service, getting the size right is key to a crisp, well-proportioned wallet photo. Meanwhile, here’s how to make sure your image turns out perfectly.
Printing at Home
If you’re printing your own photos, use high-quality photo paper for the best results. Furthermore, set your printer resolution to at least 300 DPI to ensure sharpness, especially for such a small print.
When setting up your layout, make sure your image is exactly 5.1 cm x 7.6 cm. Moreover, most printers allow you to print multiple wallet-sized images on one A4 sheet, which is a great way to save paper. Just be sure to leave enough space between photos for trimming.
Resizing with Photo Editing Software or Apps
To avoid stretching or cropping important parts of the image, use photo editing tools like PicWish. It has a resize function that ensure the aspect ratio is locked to prevent distortion. Additionally, you can customize the size in inches, pixels, or millimeters. Furthermore, it has a crop tool to ensure a clean wallet picture. Also, it offers other preset sizes for passport, ID, and e-Commerce websites that you can use in the future.
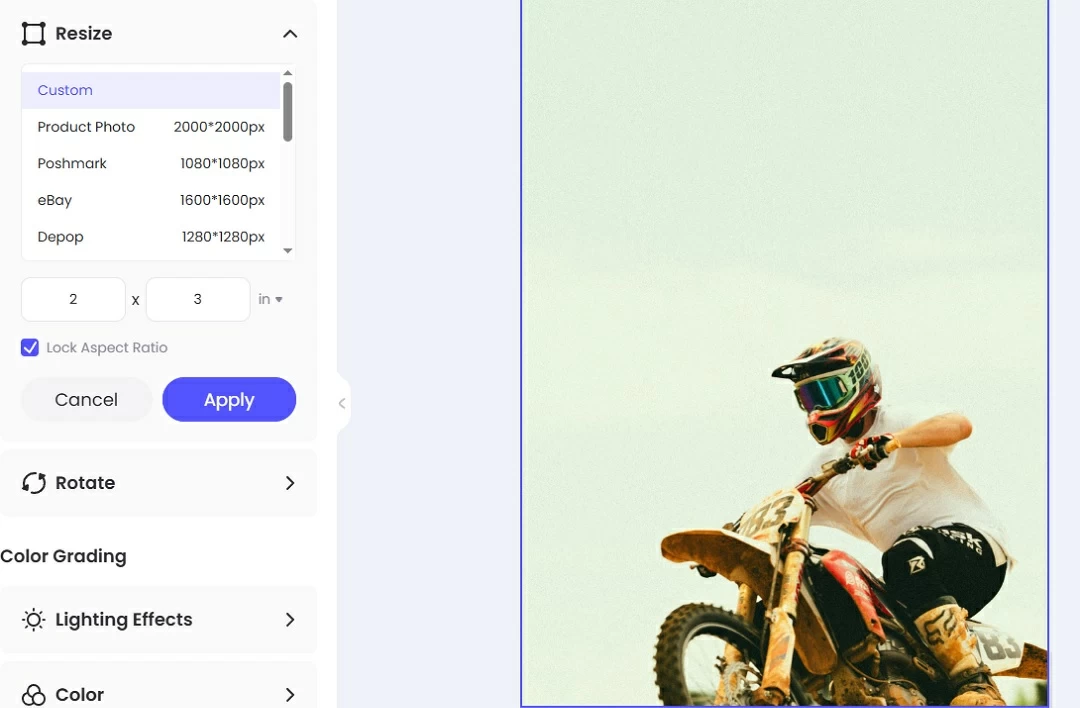
On the other hand, it showcases a user-friendly interface where you only need to upload the image to start. Then, go to the Resize tool and choose Custom. After that, select inches for the size and enter 2 x 3 for the dimensions. Finally, you only need to apply the changes then and download the wallet size photo.
Using Online Printing Services
Many online photo printing platforms offer a “wallet size” option during checkout. When selecting this format, double-check the actual dimensions listed, as some services may use regional standards.
Best Practices for Wallet Size Photos
To ensure your wallet-sized photo looks sharp, well-composed, and professionally finished, there are a few key things to keep in mind during the preparation and printing process.
Use a High Resolution (300 DPI)
For a small photo like this, clarity is crucial. Always aim for a minimum resolution of 300 DPI when editing or printing your image. Meanwhile, lower resolutions can result in blurry or pixelated prints,
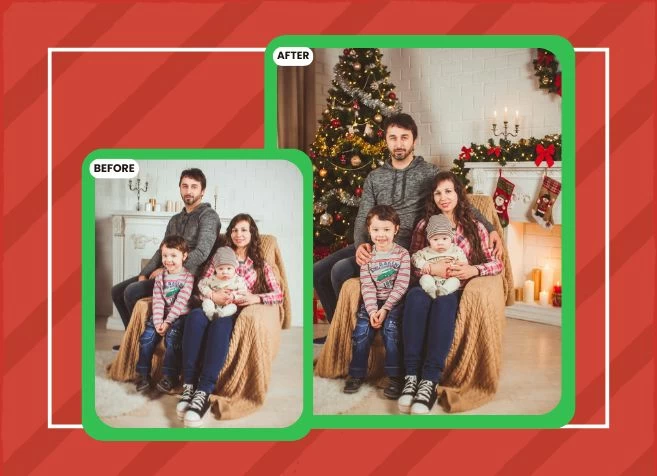
Crop Carefully to Keep the Focus
Before resizing your photo, take a moment to crop it properly. Make sure to place the subject at the center and ensure there’s not too much background taking up valuable space. Moreover, be cautious not to cut off important parts of the image, such as the top of someone’s head or the sides of a face. Meanwhile, many editing tools include grid overlays or center markers.
Choose Between Border and Borderless Printing
Deciding whether to print with or without borders comes down to preference and purpose:
- Borderless prints offer a modern, clean look and maximize the space for your image. They’re ideal if you want a full-bleed photo without any white edges.
- Bordered prints can give a classic photo feel and are sometimes easier to cut accurately without trimming into the image. A small white border can also help the photo stand out when placed in a wallet sleeve or frame.
Conclusion
Knowing the wallet size picture in cm can make all the difference when it comes to fitting your photo into a wallet slot. Additionally, knowing this will avoid sizing errors and ensure your photo looks neat and professional. Meanwhile, resizing with editing tools like PicWish will give you the best results. Now that you’re equipped with the standard size and expert tips, you’re ready to create the perfect wallet-sized photo to carry your memories wherever you go.


Leave a Comment