

Build a Bulk Product Image Workflow in 5 Steps
Organize → Prepare → Batch Edit → Standardize → Review → Export
A good bulk product image workflow separates repetitive tasks from decisions that require individual attention. This lets you process large collections more efficiently without sacrificing product accuracy or image quality.
1. Organize and Prepare Your Product Images
Start by gathering the product photos you need to process and organizing them into logical groups.
You can sort them by:
- Product
- SKU
- Product variation
- Image type
- Marketplace
- Campaign
For example, you can create a folder for each SKU and keep its original product photos together.
Before editing, review the files and remove photos that are:
- Blurry
- Duplicated
- Poorly lit
- Incorrect
- Missing important product details
- Unsuitable for the intended channel
Keep the original images separate from your working files. This gives you a clean backup if you need to create another version later. This preparation step may seem minor, but it prevents unsuitable files and organizational problems from carrying over into the rest of the workflow.
2. Batch Edit Repetitive Tasks
Next, identify which edits can be applied to multiple images at once.
Common bulk product image editing tasks include:
- Background removal
- Cropping
- Resizing
- Image enhancement
- Format conversion
- Basic adjustments
An AI batch photo editor can be useful for repetitive tasks that would otherwise require the same manual steps over and over.
For example, if dozens of product photos need their backgrounds removed, processing them together is more efficient than editing each image individually. However, don’t force every image through identical settings. Set aside photos that have unusual compositions, lighting, or other problems so they can receive individual attention.
3. Standardize Your Product Images
After the basic edits are complete, check whether the images look consistent as a collection.
Pay attention to:
- Product scale
- Product position
- Background
- Lighting
- Color appearance
- Image dimensions
- Overall visual style
Consistency is especially important when shoppers see multiple products on the same store or marketplace.
If you’re using AI to generate or modify product visuals, compare the results with the original product photos. Check that the product’s shape, packaging, labels, logos, colors, and other distinctive characteristics remain accurate.
The goal is to create a cohesive catalog without changing what the products actually look like.
4. Prepare Images for Different Channels
Once your product images are standardized, create versions for their intended destinations.
Different channels may require different:
- Dimensions
- Aspect ratios
- File formats
- File sizes
- Compositions
For example, a marketplace listing may need a product-focused image, while a website banner may require a wider composition with space for text. Instead of forcing one image to work everywhere, adapt the composition and dimensions to each placement.
| Channel | Recommended Approach | Key Consideration |
| Ecommerce | Product-focused | Keep the product prominent and easy to see |
| Social Media | Engaging composition | Make the image stand out in the feed |
| Stories | Vertical layout | Leave space for text and interactive elements |
| Website | Wide composition | Leave room for headlines and CTAs |
| Ads | Product + promotional message | Balance the product with campaign messaging |
| Product + campaign context | Match the visual to the email’s purpose |
This also makes it easier to repurpose product photos for marketing instead of creating completely new photography for every channel.
5. Review and Export the Finished Images
Before exporting the entire collection, review a sample of the processed images.
Check for:
- Incorrect crops
- Background errors
- Product distortions
- Inconsistent sizing
- Poor image quality
- Incorrect orientation
- Unwanted AI changes
- Missing products or variations
Quality control is particularly important when AI tools are involved. A small error repeated across hundreds of images can become a much bigger problem. Compare processed images with the original product photos and make sure important product characteristics remain accurate. Once the images pass your review, export them according to their intended use. A consistent naming system can also make large catalogs easier to manage. You can add the channel, variation, or image version when necessary.
Where PicWish Fits Into the Workflow
PicWish can support the editing and preparation stages of a bulk product image workflow, particularly when you need to handle repetitive image-editing tasks across a large collection. Instead of treating every product photo as a separate project, you can incorporate PicWish’s batch and bulk capabilities into your existing process.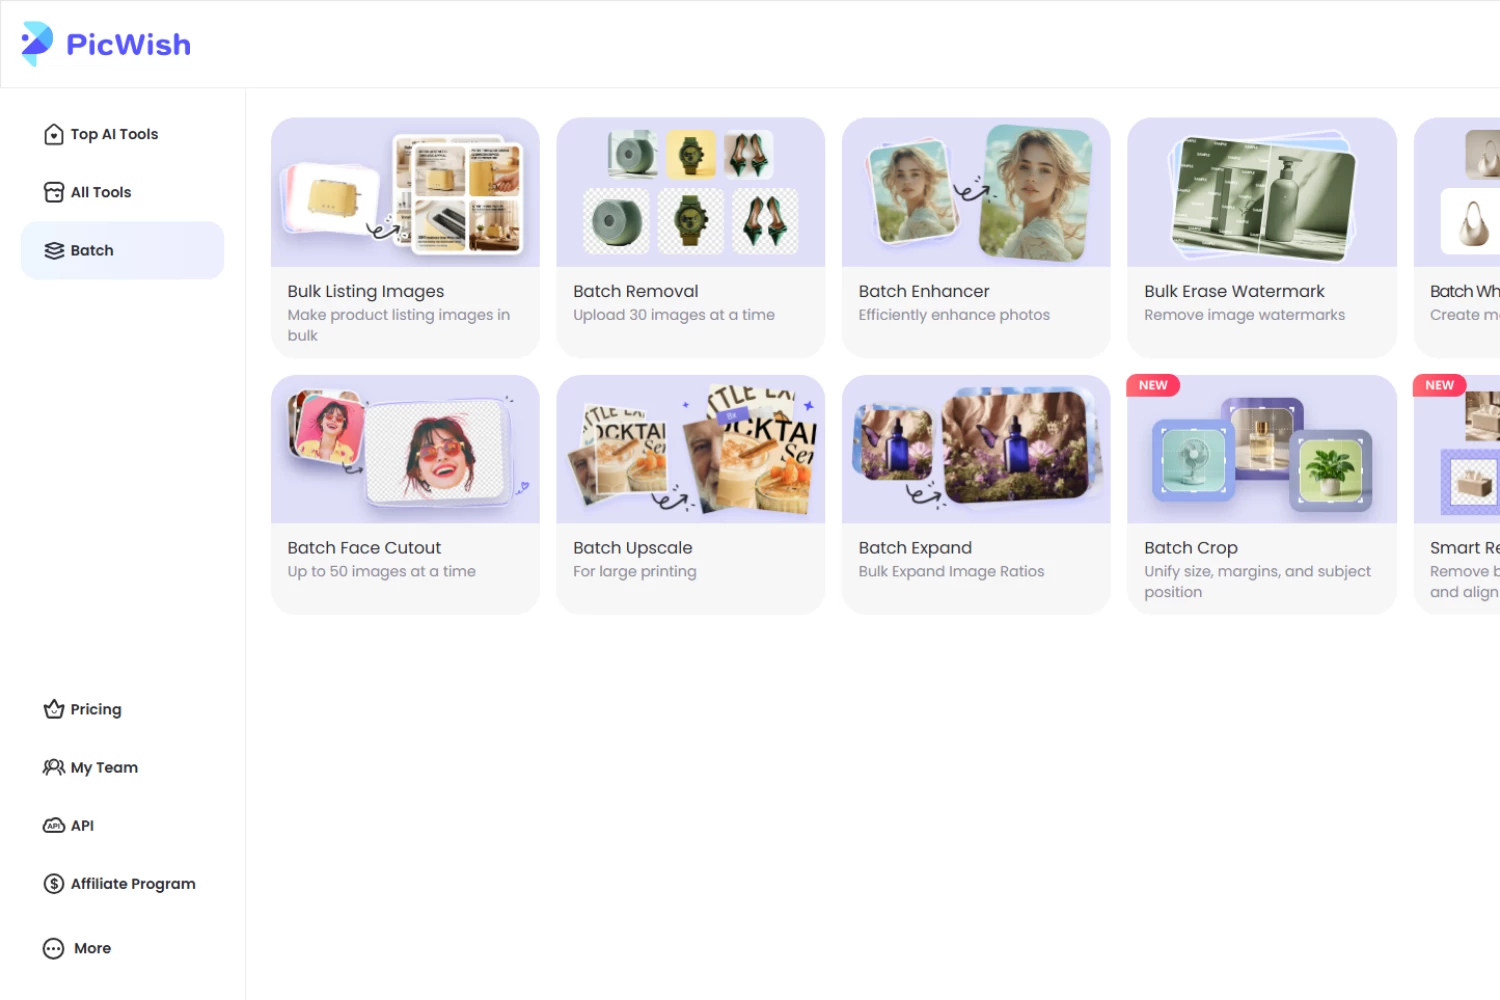
A simple workflow can look like:
Upload → Batch Edit → Review → Export
For example, an ecommerce seller may use PicWish to process a collection of product images with similar editing requirements, then review and organize the finished files before publishing them.
The specific tools you use will depend on the type of product images you’re preparing, but the principle remains the same: use batch processing for repetitive work and reserve manual editing for images that need additional attention.
Maintain Product Consistency With AI Editing
When AI is used to enhance or modify product images, consistency requires an additional check.
Compare AI-assisted results with the original product references and look for changes to:
- Product shape
- Packaging
- Logos
- Labels
- Colors
- Distinctive details
This is particularly important when creating multiple AI-generated product scenes. A visually attractive result isn’t useful if the product no longer accurately represents the item being sold.
How to Make Your Workflow More Efficient
Once you have a basic process, a few practices can make it easier to manage larger catalogs.
Create a Reusable Workflow Template
Turn your process into a simple bulk product image workflow template that can be reused for future product collections:
Organize → Prepare → Batch Edit → Standardize → Resize → Review → Export
You can save this as an internal checklist or process document so you don’t have to rethink the workflow every time new product photos arrive.
Group Similar Images Together
Process similar images together whenever possible.
For example, separate:
- Main product images
- Lifestyle photos
- Detail shots
- Promotional images
- Social media assets
Images with similar compositions are more likely to require the same editing treatment, making batch processing more effective.
Allow Exceptions
A good workflow shouldn’t force every image through the exact same settings. If one product photo has unusual lighting, framing, or composition, move it out of the batch and handle it separately. This keeps automation efficient without sacrificing image quality.
Keep Original and Final Files Separate
Don’t overwrite your original product photography. Maintaining separate folders for original, working, and final files makes it easier to create new versions when marketplace requirements or campaign needs change.
Repurpose Product Images for Marketing
A bulk workflow doesn’t have to end with ecommerce listing images. Once your product photos have been cleaned up and standardized, you can reuse them for other marketing purposes. The same product image can be adapted to different formats and contexts depending on the channel.
For example:
- Social media: Place the product in an engaging scene designed for feed content.
- Stories: Adapt the image to a vertical layout and leave room for text.
- Website banners: Reposition the product to create space for a headline or CTA.
- Advertisements: Combine the product with promotional messaging.
- Email campaigns: Use the product image in a visual that supports the campaign’s purpose.
This approach helps you get more value from the same product photography without starting a new photoshoot for every marketing asset.
Conclusion
A bulk product image workflow helps turn raw product photos into polished, consistent, channel-ready assets.
The process is:
Organize → Prepare → Batch Edit → Standardize → Review → Export
Use batch editing for repetitive tasks, but review the results to catch errors. PicWish can help streamline image preparation for ecommerce listings, social media, websites, ads, and email campaigns.





Leave a Comment