

5 Practical Ways to Photograph Clothing Without a Model
Clothing photography without a model can be done using five methods: flat lay photography, hanger photography, a visible mannequin, ghost mannequin editing, or AI-generated on-model images. Flat lays work well for showing prints and garment outlines, while mannequins help display shape and volume. AI-generated images offer a worn presentation without hiring a human model. Choose your method based on the garment’s features, your available equipment, and whether you want a product-only photo or styling context.
Compare the five methods before choosing your setup
| Method | Useful for | What you need | Main limitation |
|---|---|---|---|
| Flat lay | Prints, simple shapes, outfit arrangements | Flat surface and overhead camera position | Limited view of volume and drape |
| Hanger | Quick captures and longer garments | Suitable hanger and a clear hanging area | Shoulder shape depends on the hanger |
| Visible mannequin | Structured garments and repeatable angles | Appropriately sized mannequin or dress form | Support remains visible |
| Ghost mannequin | Product-only images with a sense of volume | Mannequin, reference shots, and editing | More preparation and retouching |
| AI on-model image | Styling context without a live model session | Clear product photos and an AI tool | Generated appearance requires verification |
These methods can work together. A flat lay may explain a print better than a worn image, while a supported view may make a jacket’s construction easier to understand.
Flat lay photography for a clear view of the garment
Flat lay photography means placing clothing on a horizontal surface and photographing it from above. It is a practical starting point for T-shirts, knitwear, trousers, and smaller garments that fit comfortably within your available space.
Spread the item on a clean background and arrange it as you want the customer to inspect it. Straighten the neckline, separate overlapping sleeves, and leave the waistband or fastening visible. For a printed item, keep the graphic unobstructed.
Position the camera as parallel to the surface as possible. Shooting diagonally can make one end of the garment appear larger than the other. Use a stable setup and avoid stretching to hold the phone over a large item.
A simple flat lay works well as a factual product view. You can also arrange coordinated items together for an outfit idea, provided it is clear which pieces are included in the listing.
The trade-off is depth. A shirt laid flat does not show how its shoulders sit on a body, and a fluid dress may lose some of its shape. Add a supported view when volume is central to the design.
For more guidance on arranging and photographing garments from above, see PicWish’s guide to flat lay clothing photos.
Hanger photography when you need a simple vertical setup
A hanger lets you photograph clothing vertically without a person or a full-size mannequin. It can be convenient when you have wall space but little room for an overhead setup.
Choose a hanger that suits the garment’s shoulders. An overly wide hanger can stretch the outline, while a narrow one may let the shoulders collapse. Position the item against a plain background and leave enough room to show the full hem.
Let the garment settle naturally before taking the picture. Check that one sleeve has not twisted backward and that the fastening hangs straight. Keep the camera facing the garment squarely, rather than tilting sharply upward or downward.
For longer dresses or trousers, check the lower half of the frame carefully. A visually tidy top section is not enough if the hem is cropped or the legs disappear into shadow.
Hanger photography is useful for fast, repeatable captures, but the hanger influences the silhouette. Very stretchy fabrics, delicate straps, and heavily structured pieces may need a different kind of support.
Visible mannequins for structure and repeatable views
A physical mannequin or dress form adds support beneath the garment. This can help present the shape of a jacket, the construction of a shirt, or the volume of a fitted dress.
Choose a form reasonably suited to the sample size. Pulling a small garment over an oversized mannequin distorts its shape. Excessive pinning on a smaller form can make the waist or cut appear different from the actual item.
Photograph the front, side, and back from a consistent camera height. Keep the mannequin upright and avoid distracting joins or stands in the main area of interest.
A visible mannequin can suit a boutique’s presentation style, especially when the same form and background are used across a collection. It also lets you capture real folds and construction details without reconstructing them digitally.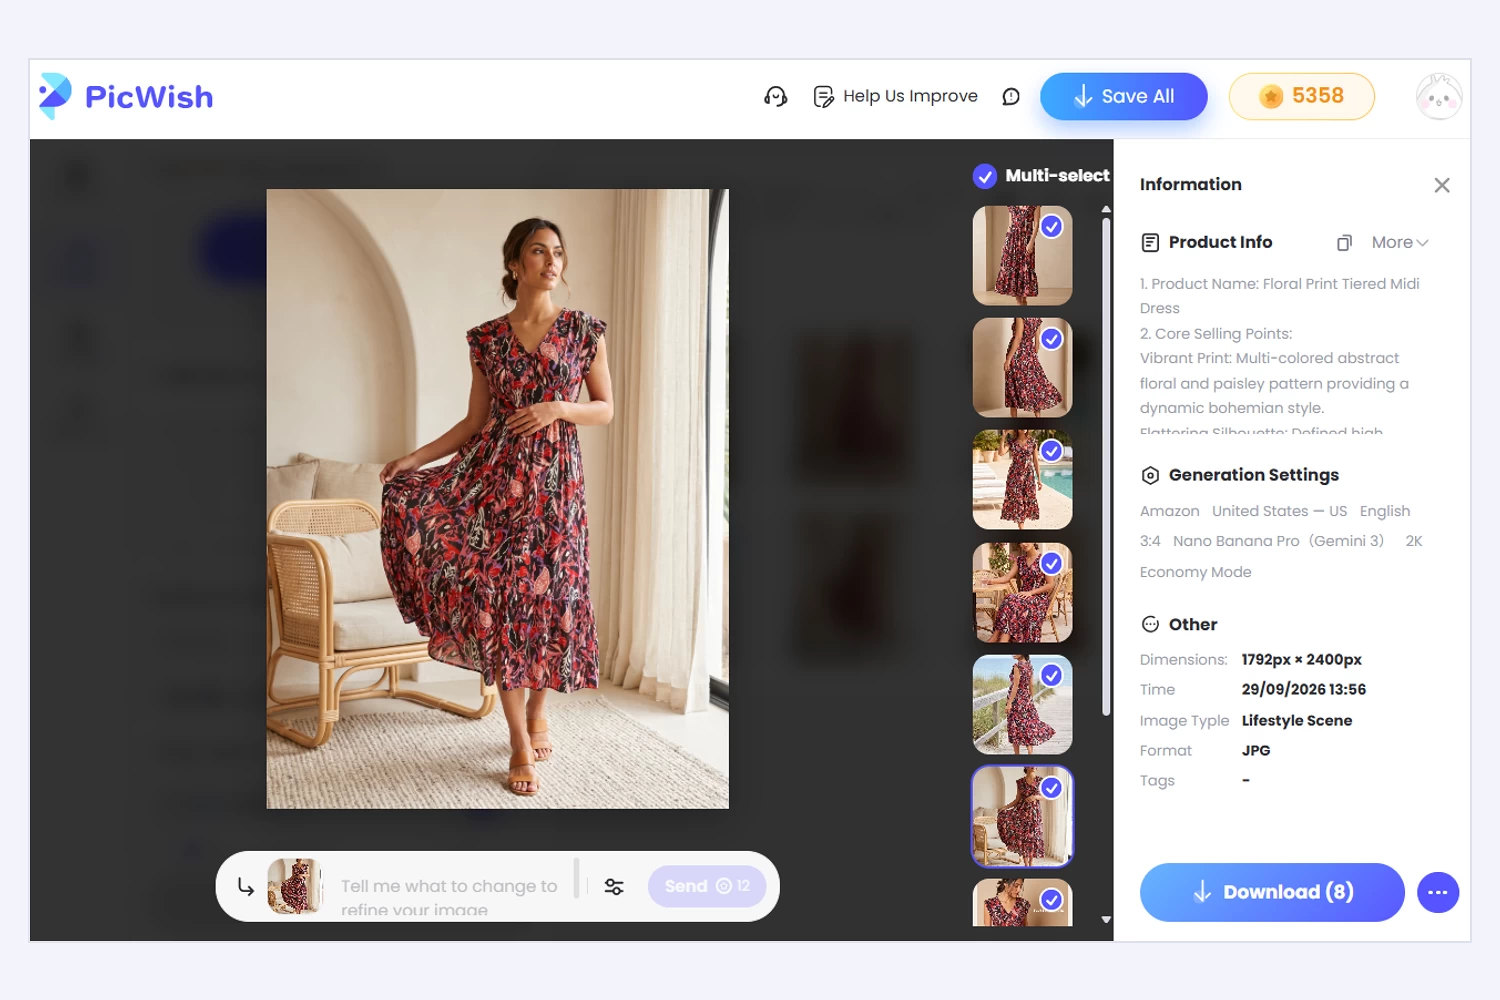
However, the supported shape still represents the garment on that particular form. Include measurements and other product information to help customers understand sizing.
If your requirement is specifically photography without a mannequin, choose flat lay or hanger photography instead. “Without a model” and “without a mannequin” describe different constraints.
Ghost mannequin photography for a product-only image with volume
Ghost mannequin photography creates the appearance of a garment holding its shape without a visible person or support inside it.
In a traditional workflow, you photograph the garment on a mannequin, capture additional areas such as the inside neckline where needed, and combine the images while removing the visible support. The additional references help reconstruct openings that the mannequin covered.
This method can be useful for shirts, jackets, and other garments where structure matters but you want the product to dominate the image.
The preparation is more involved than hanging an item against a wall. Keep the camera, lighting, and garment position consistent between the main photograph and supplementary shots. Otherwise, the combined image may contain mismatched angles or shadows.
Inspect the neckline, armholes, inner lining, and hem after editing. These are places where an incomplete cutout or an unnatural join may become visible.
AI tools can also create a ghost mannequin effect, but a generated interior may differ from the real garment. If construction details matter to the purchase, compare the result with actual reference photographs.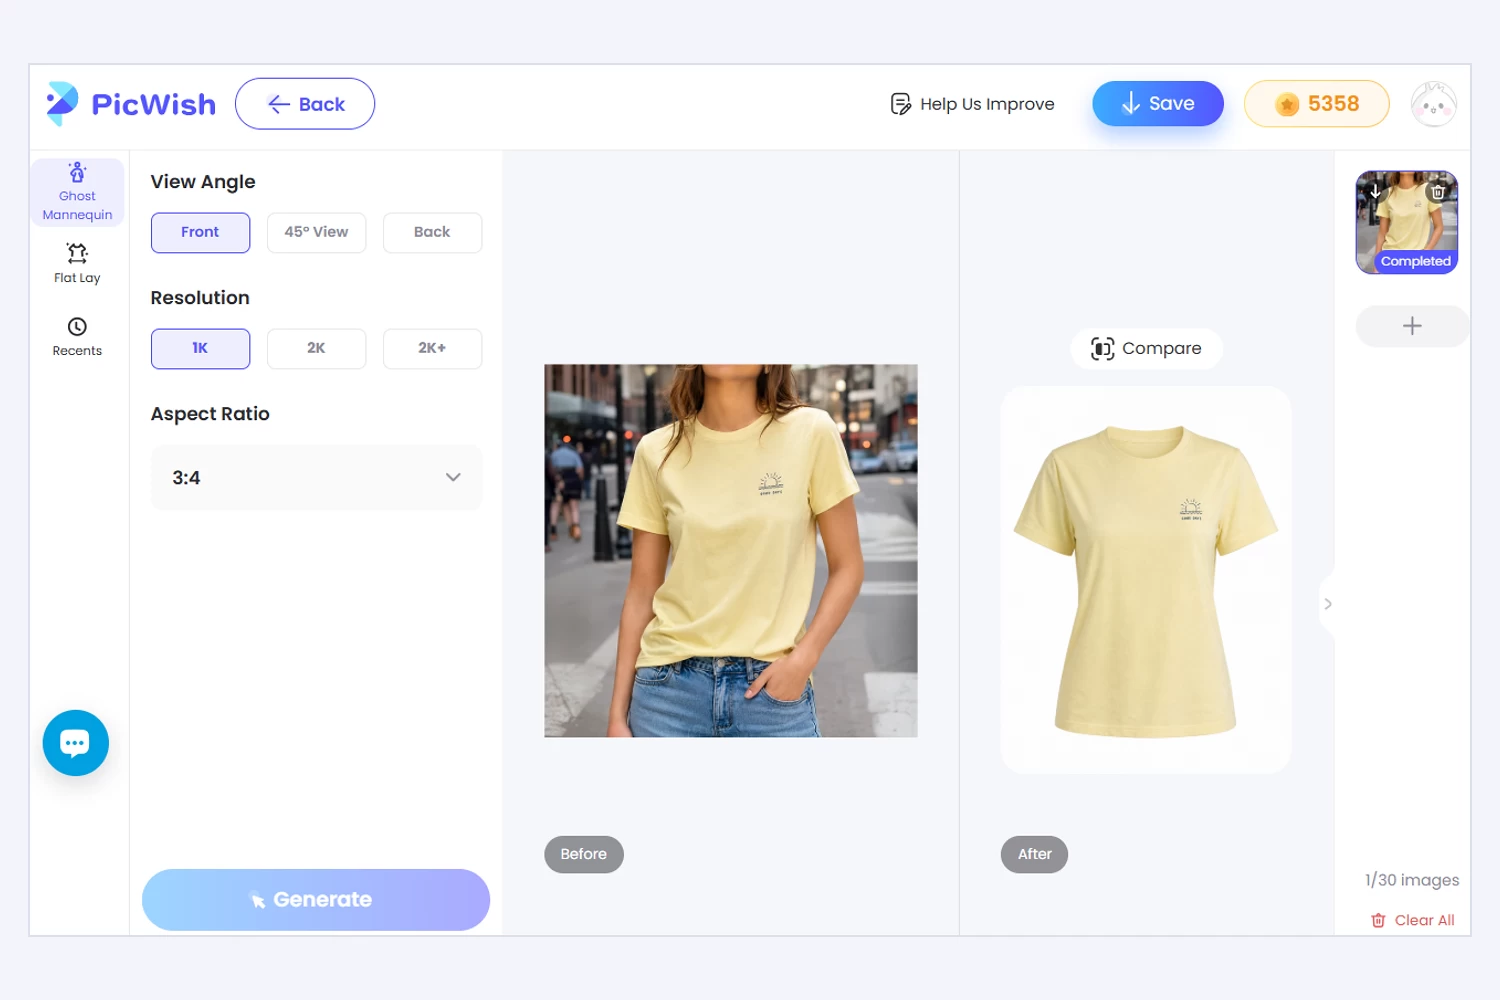
AI on-model imagery when you want a worn presentation
Sometimes a seller wants a person in the final image but does not have the time or budget to organize a model session. AI-generated on-model photos address that particular need.
The starting point is a photograph of the real garment. An AI tool uses the supplied references and instructions to generate a presentation that shows the item being worn.
PicWish Fashion Listing Images includes on-model imagery alongside other fashion listing formats. It can be considered when you already have product photos and want to add styling or lifestyle context.
This option belongs beside original product views in your planning. A generated image can illustrate an outfit, but it does not prove the garment’s actual fit or drape on a customer. Keep real detail photographs, accurate measurements, and condition information available.
If your goal is specifically to keep all people out of the image, use one of the four product-only methods above. An AI model still creates a person-shaped subject in the finished visual.
Match the method to what the garment needs to show
📌For a printed T-shirt, begin with a flat lay that gives the graphic enough space. Add an original close-up if the printing texture is part of the design.
📌For a tailored jacket, consider a mannequin or a carefully edited ghost mannequin image. The shoulders, lapels, and closure usually need support to be presented clearly.
📌For a long dress, a hanger or mannequin may fit the available space better than an overhead setup. If movement and drape are important selling points, supplementary real worn photographs can still be valuable.
📌For a secondhand item, prioritize documentation. Include the complete garment, labels, and visible wear. A styled image should not replace clear photographs of the item’s condition.
📌For a coordinated outfit, a flat lay can show how the pieces work together. State which items are being sold so accessories do not create the wrong expectation.
Build a small setup you can use again
Start with a phone or camera, a stable position, a plain background, and suitable lighting. A window can provide useful soft light; a consistent artificial light source may be easier to repeat across several sessions.
Avoid mixing strongly different light colors, such as warm room lighting and cool daylight. Keep the background and camera position consistent so products are easier to compare across the store.
Before photographing a batch, capture one item and inspect the result. Check the crop, shadows, and visible texture. Mark the camera and product positions once the setup works, then keep the arrangement steady as you change garments.
Take the front and back views, then record details that explain the item: fastenings, labels, pockets, or areas of wear. This basic coverage is useful regardless of the main presentation method.
Background cleanup and cropping can improve consistency afterward. Keep natural garment texture and product details intact during editing.
Questions sellers ask before photographing clothes
❓What is the easiest way to photograph clothes without a model?
For a small item that lies neatly, a flat lay is often a convenient starting point. A hanger can be easier for longer garments or when you have limited floor or table space. Choose the method that lets you show the complete item without distortion.
❓Do I need a professional camera?
No. A phone can capture useful clothing photos when the garment is well lit, the lens is clean, and the camera is stable. Check sharpness and color on the finished image before deciding whether you need additional equipment.
❓Is a mannequin better than a flat lay?
It depends on the information the garment needs to communicate. A mannequin supports shape and volume; a flat lay gives a direct view of prints and the overall outline. Some listings benefit from both.
❓Can I mix different photography methods in one store?
Yes. Keep the overall background, framing, and editing style consistent, and use each method for a clear purpose. For example, combine a supported full view with flat lay details when that makes the item easier to understand.
Choose one dependable method for your main product view, then add images that answer the remaining questions about the garment. When a worn presentation would be useful, explore PicWish Fashion Listing Images as an additional option for your gallery.


Leave a Comment